
Set Up Styling Templates for Copy Content
Designers can use styling templates to control how copy content looks when they drag and drop it into an artwork in Adobe Illustrator or InDesign. A template sets the font and paragraph settings of the inserted content, so every artwork follows the same brand or regulatory formatting without manual changes.
Each template has two kinds of rules:
| Rule | Applies to |
|---|---|
| General Rule | Every copy element you insert with the template. |
| Element Rule | A specific copy element that you add to the template, such as Allergen statement. |
| Note: The plugin provides a Default template. You can edit it, but you cannot delete it. Templates are optional: if you do not create one, the plugin applies the Default template. |

01. Open the Template List
- Make sure you are signed in to the plugin. For more information, refer to Sign In to the ManageArtworks Plugin.
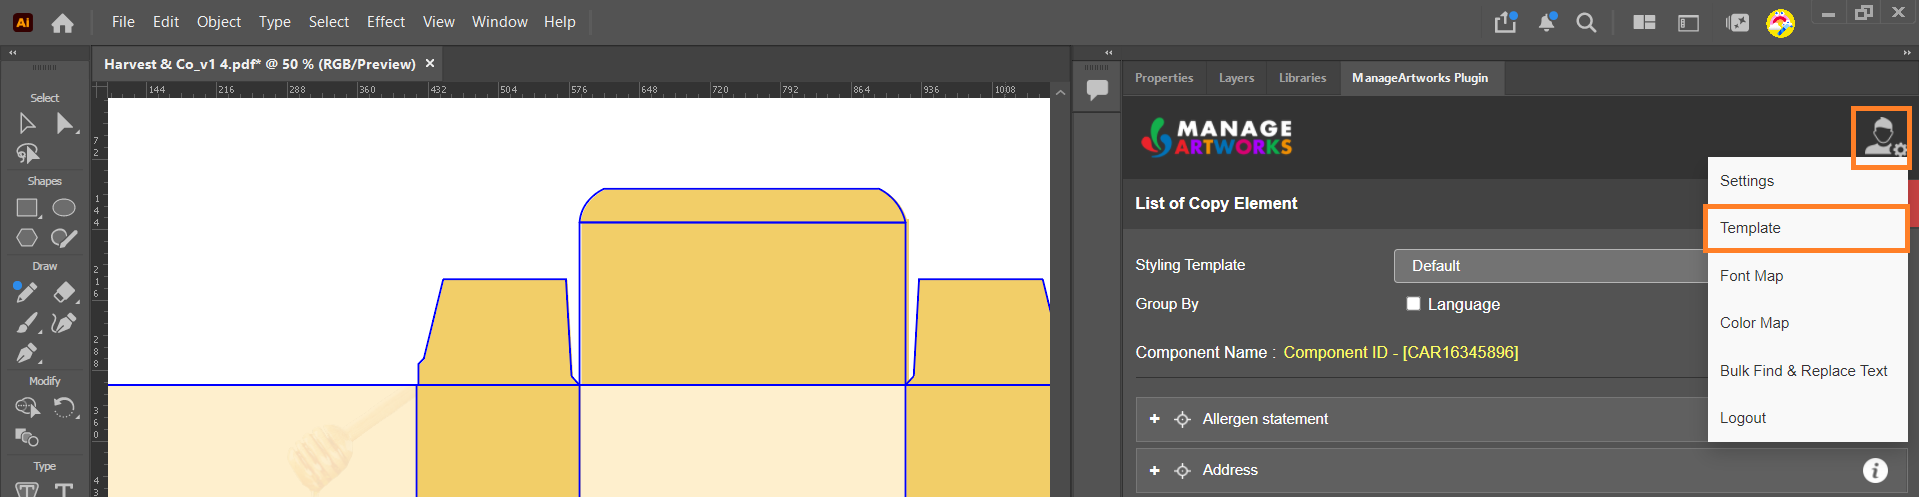
- Hover over the Settings icon in the upper-right corner of the panel, then select Template.
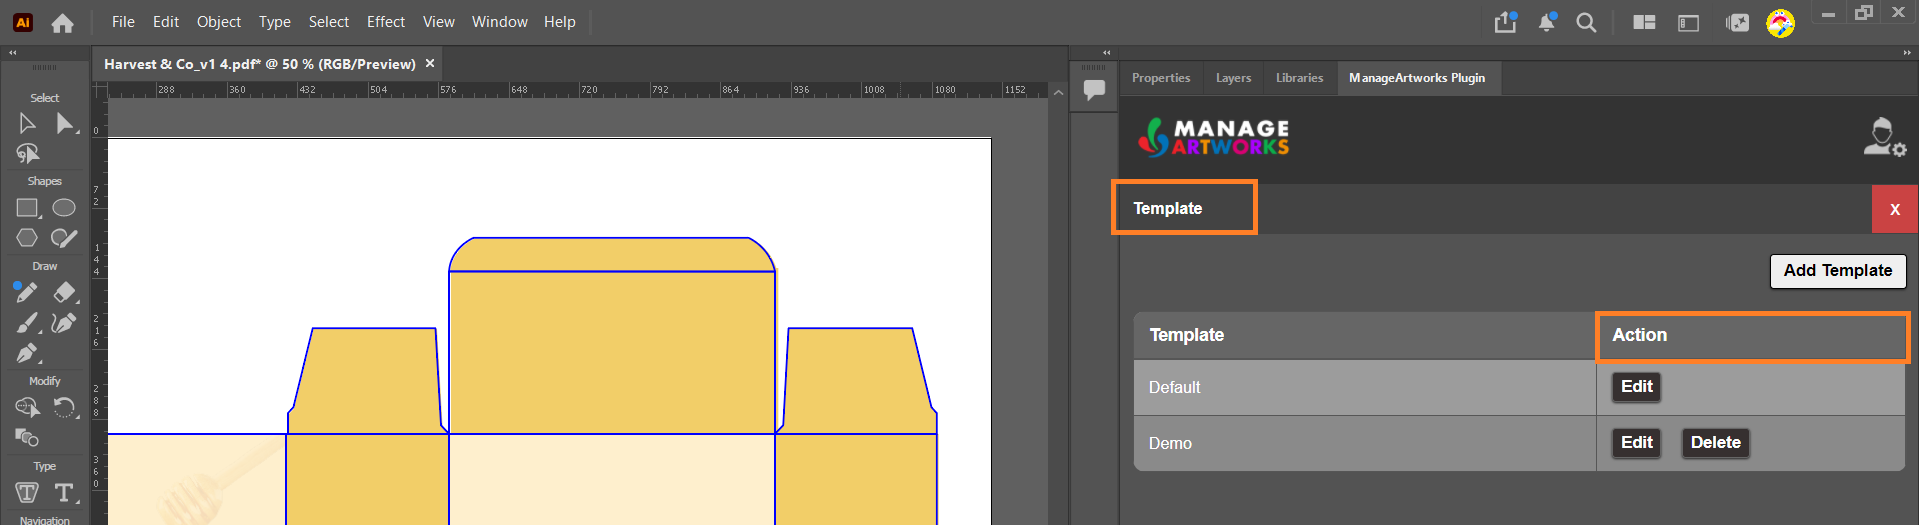
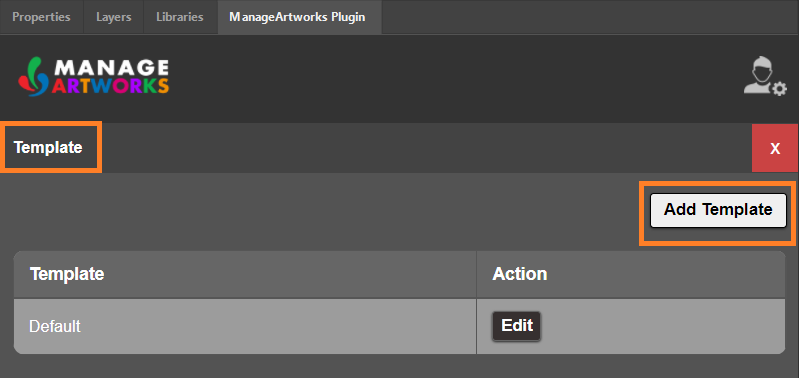
- The Template page lists the available templates. Each template you create has an Edit and a Delete button; the Default template has Edit only.
02. Choose to Modify or Create a Template
- To change an existing template, such as Default, follow the steps in Modify an Existing Template.
- To create a new template, follow the steps in Create a New Template.
Modify an Existing Template
- In the template list, locate the required template.
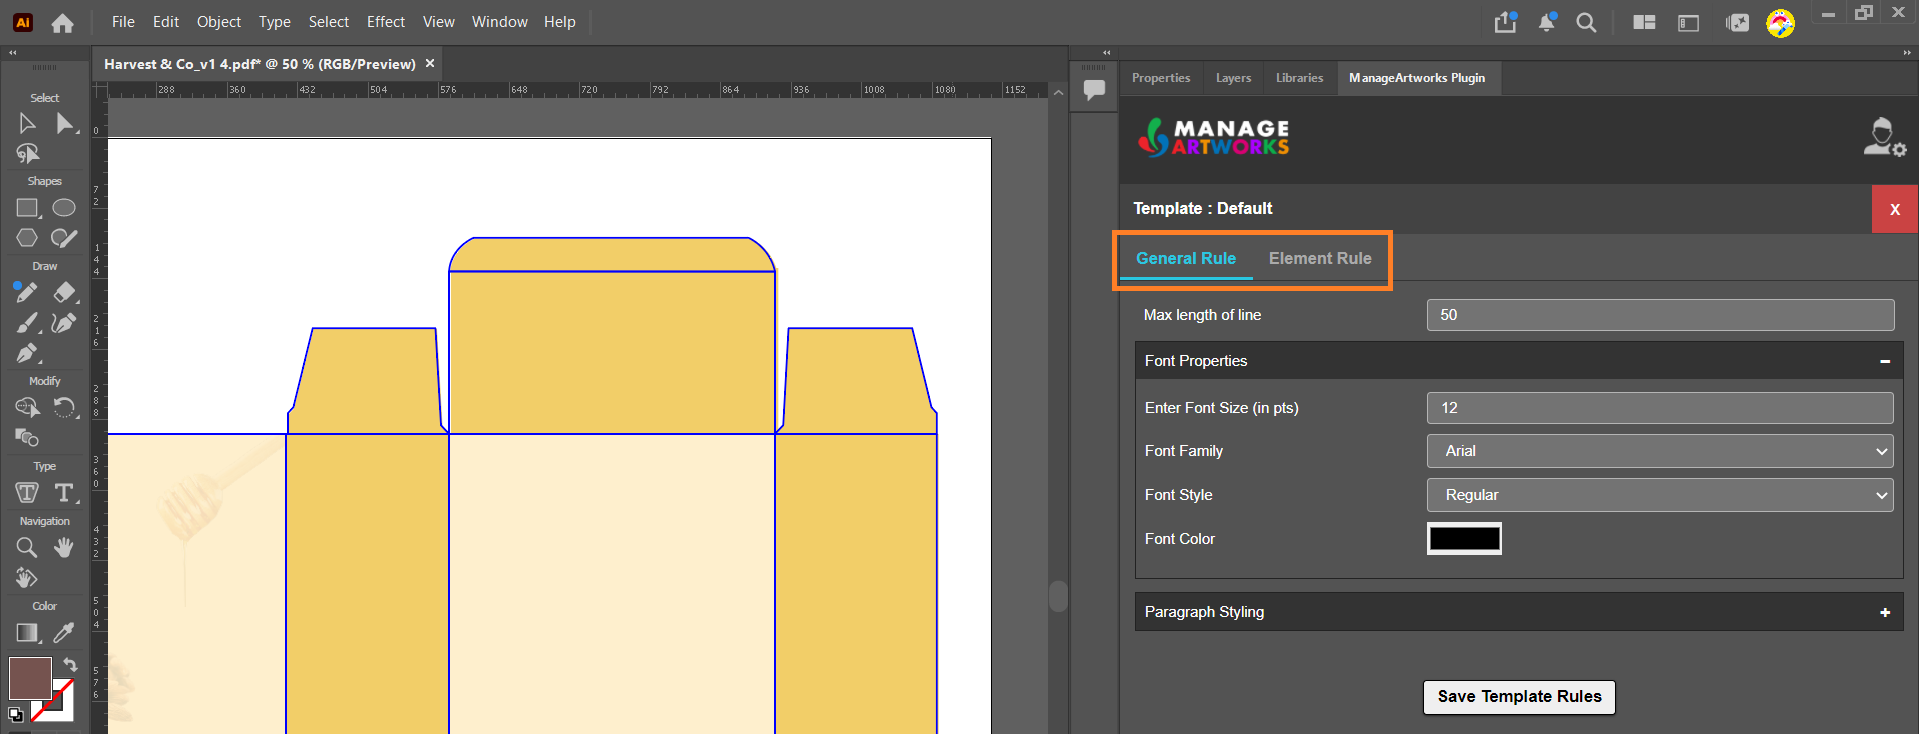
- Select Edit next to the template. The template editor opens with two tabs:
- General Rule: Global styling rules that apply to all elements.
- Element Rule: Formatting rules for individual elements.
Set the General Rule
 | Note: Changing the font properties and paragraph styling on the General Rule tab affects all the elements of the copy. |
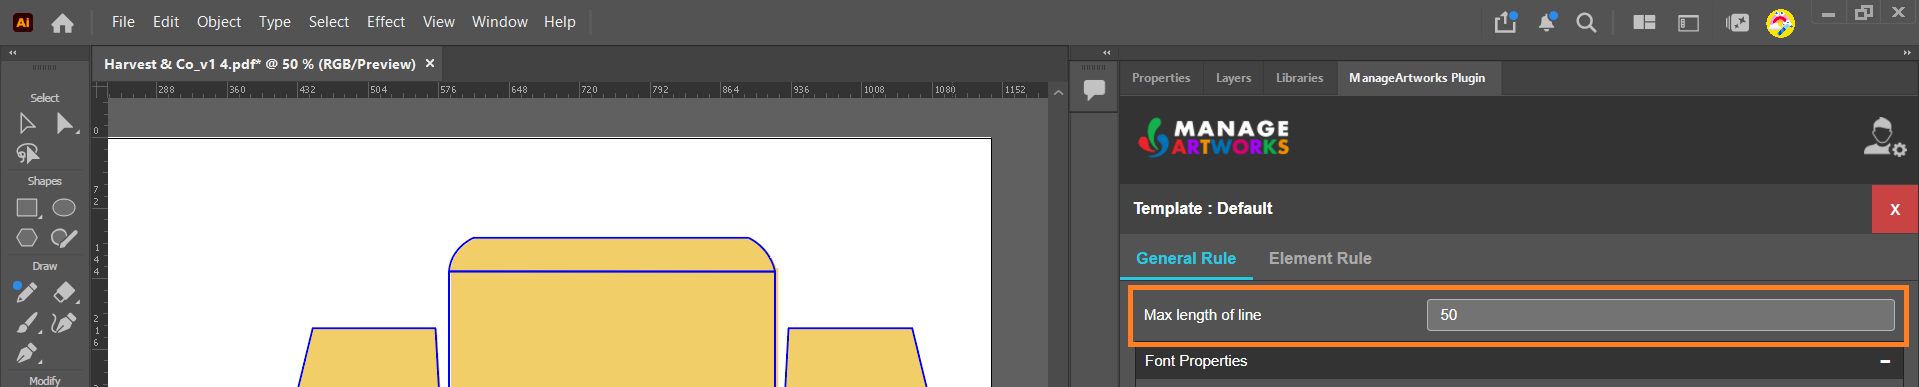
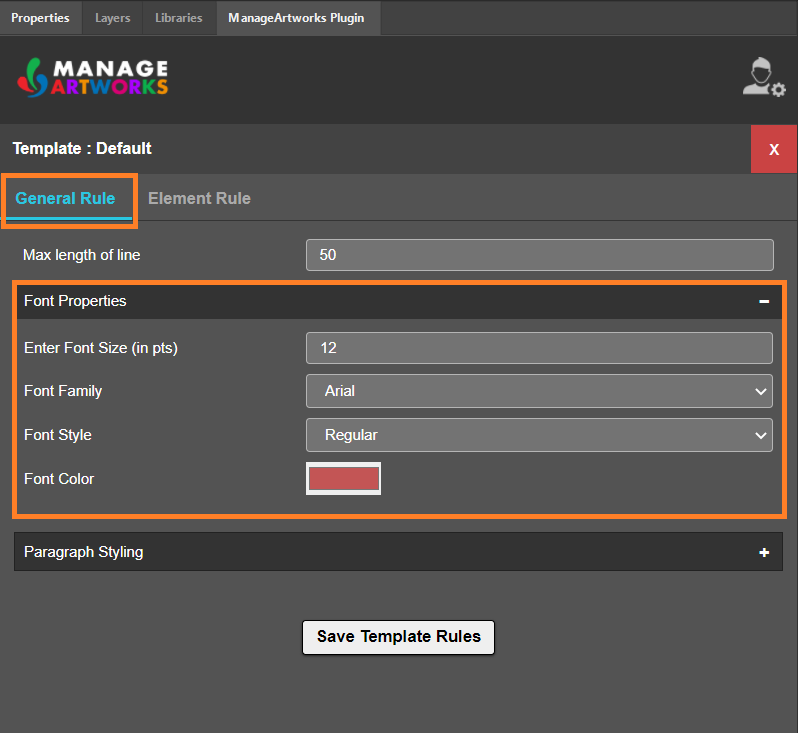
- On the General Rule tab, in the Max length of line box, enter the maximum number of characters in a line. When a line reaches this number of characters, the rest of the text moves to the next line.
- Under Font Properties, change the required properties:
- To change the font size, in the Enter Font Size (in pts) box, enter the value.
- To change the font family, in the Font Family drop-down list, select the font family.
- To change the font style, in the Font Style drop-down list, select the font style.
- To change the font color, select the Font Color box, then select the color in the color picker or enter its value.
Note: To switch between RGB, HSL and Hex values, select the toggle (⌃⌄) icon. - Select anywhere outside the color picker to close it.
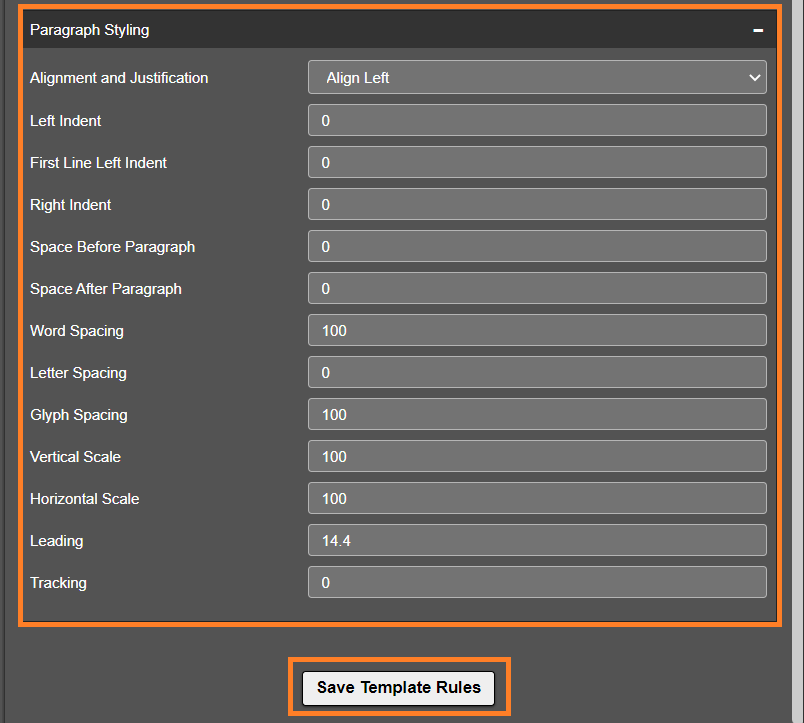
- If required, change the paragraph styling:
- Select the expand (+) icon next to Paragraph Styling.
- In the Alignment and Justification drop-down list, select the required alignment.
- Enter the required values in the indent, spacing, scale, leading and tracking boxes:
- Left Indent, First Line Left Indent, Right Indent, Space Before Paragraph, Space After Paragraph, Leading and Tracking: Enter the value in points (pt).
- Word Spacing, Letter Spacing, Glyph Spacing, Vertical Scale and Horizontal Scale: Enter the value as a percentage.
- Select Save Template Rules.
Set Element-Specific Rules (If Required)
To define unique formatting for individual elements:
| Note: An element rule overrides the general rule for that element. |
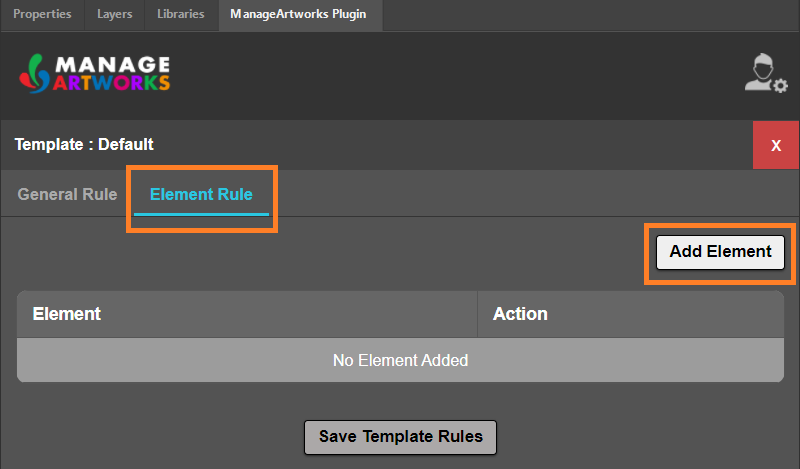
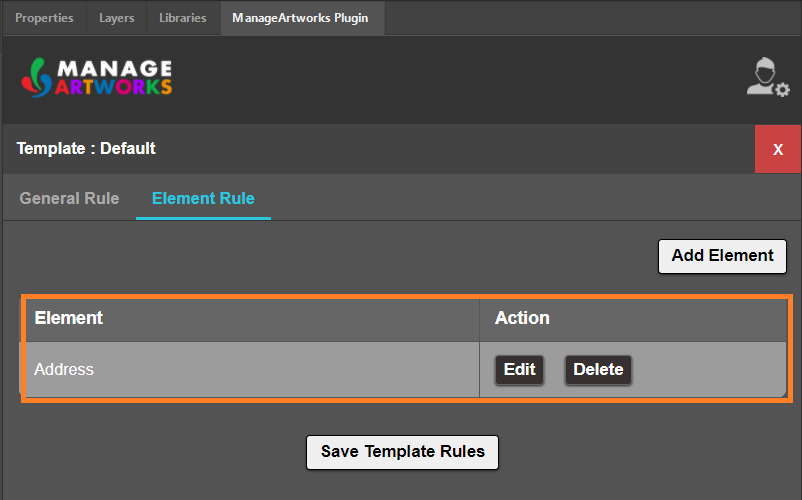
- Select the Element Rule tab.
- Select Add Element.
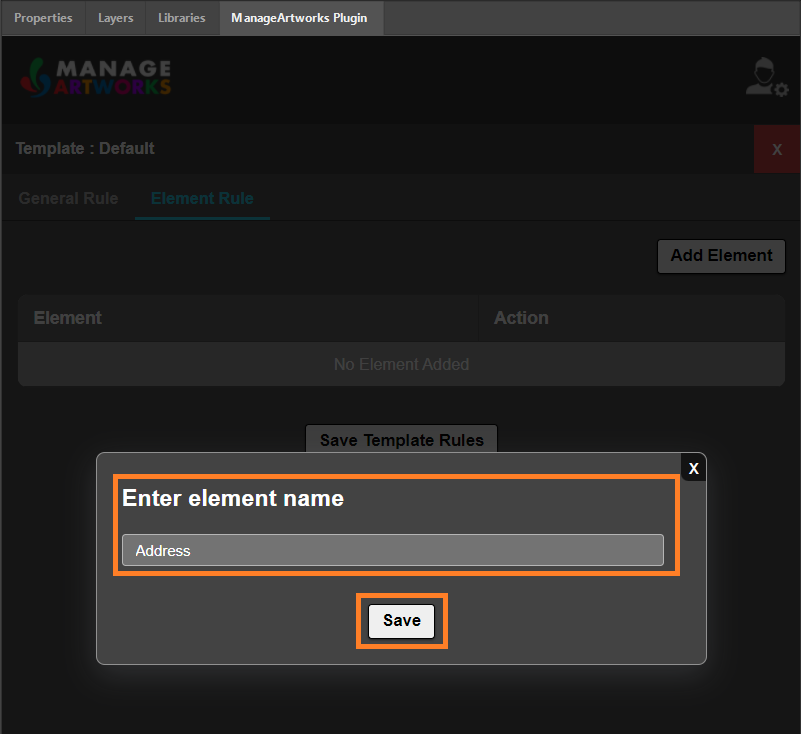
- In the Enter element name dialog box, enter the element name exactly as it appears in the copy sheet.
- Select Save. The element appears in the element list, with an Edit and a Delete button.
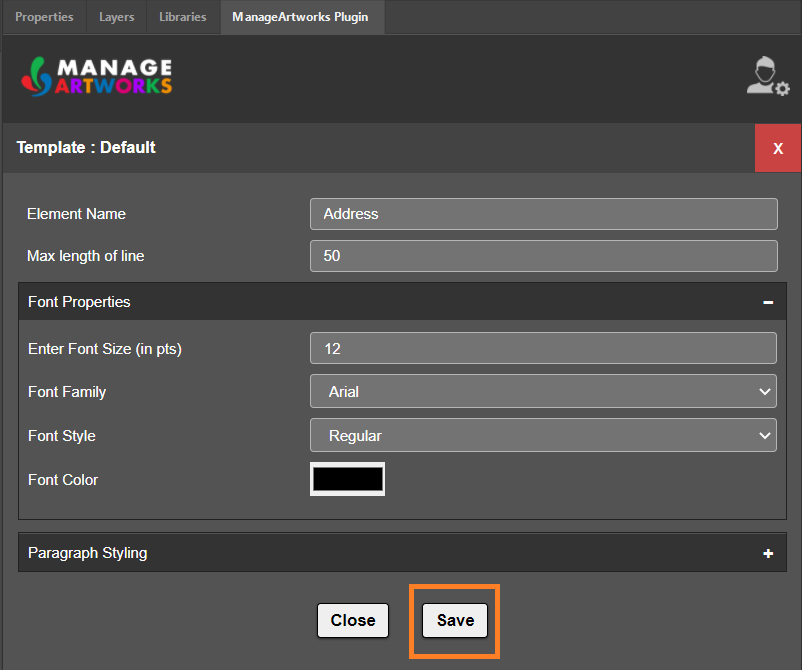
- Select Edit next to the element and configure its style:
- For the line length and font properties, follow steps 1 and 2 in Set the General Rule.
- For paragraph styling, follow step 3 in Set the General Rule.
- Select Save.
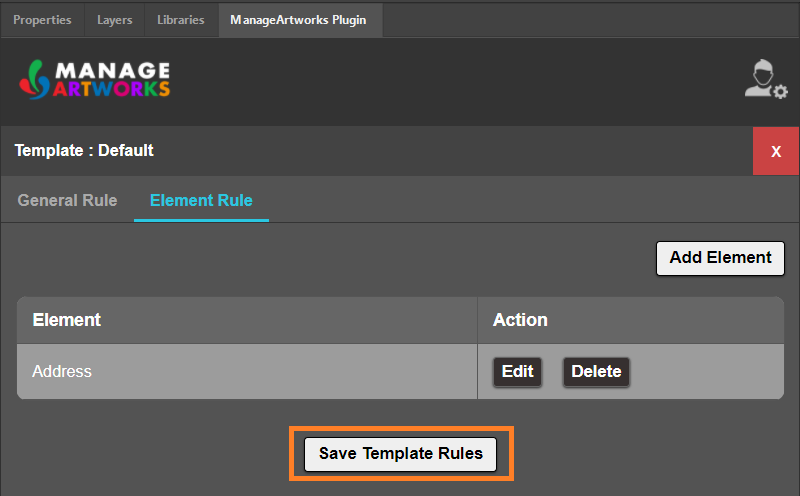
- Select Save Template Rules.
Create a New Template
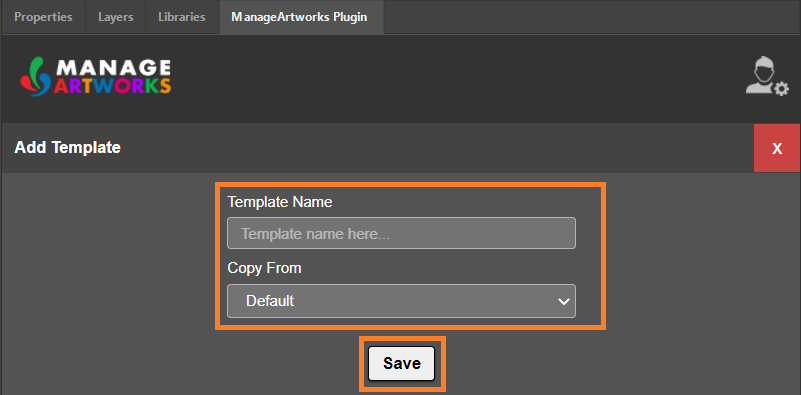
- On the Template page, select Add Template.
- In the Template Name box, enter a name for the template.
Note: You cannot rename a template after you create it. - In the Copy From drop-down list, select the existing template that is closest to the one you want to create.
- Select Save. The template is added to the template list.
- To configure the template, follow the steps in Modify an Existing Template.
Edit or Delete a Custom Template
Edit a Template
- Hover over the Settings icon, then select Template.
- Select Edit next to the required template.
- Change the properties of the template, as described in Modify an Existing Template.
- Select Save Template Rules.
Delete a Template
- Hover over the Settings icon, then select Template.
- Select Delete next to the template you want to remove.
- Confirm the deletion.
Note: You cannot delete the Default template.
Edit or Delete an Element Rule
Edit an Element Rule
- Hover over the Settings icon, select Template.
- Select Edit next to the required template.
- Select the Element Rule tab.
- Select Edit next to the element you want to change.
- If required, change the element name in the Element Name box.
- Change the line length, font properties and paragraph styling, as described in Set the General Rule.
- Select Save.
- Select Save Template Rules.
Delete an Element Rule
- On the Element Rule tab of the template, select Delete next to the element.
- Confirm the deletion.
- Select Save Template Rules.