Add/Edit Asset Type
Asset types classify the files in your Asset Library — for example, 3D file, Dieline, or Marketing Brief. Users select an asset type when they upload a file, so setting up the right types keeps your library organised and searchable.
For each asset type you can also control which file extensions are accepted and enable barcode detection for its files.
How to Add an Asset Type
01. Access Asset Types
- Sign in to your ManageArtworks account.
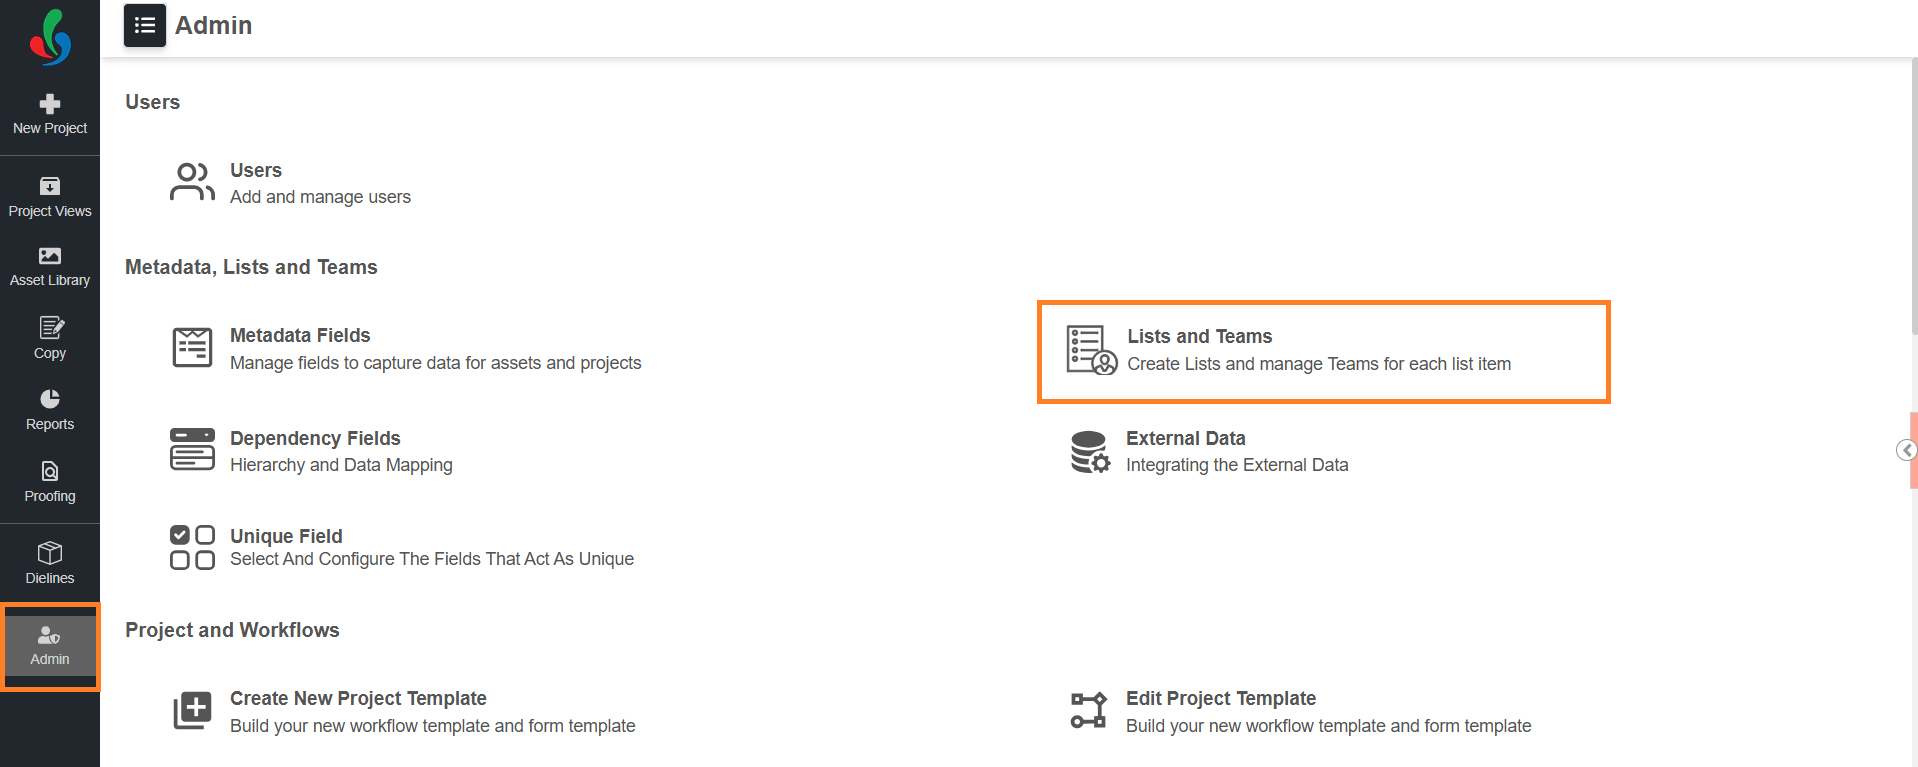
- Navigate to the Admin module.
- Select Lists and Teams.
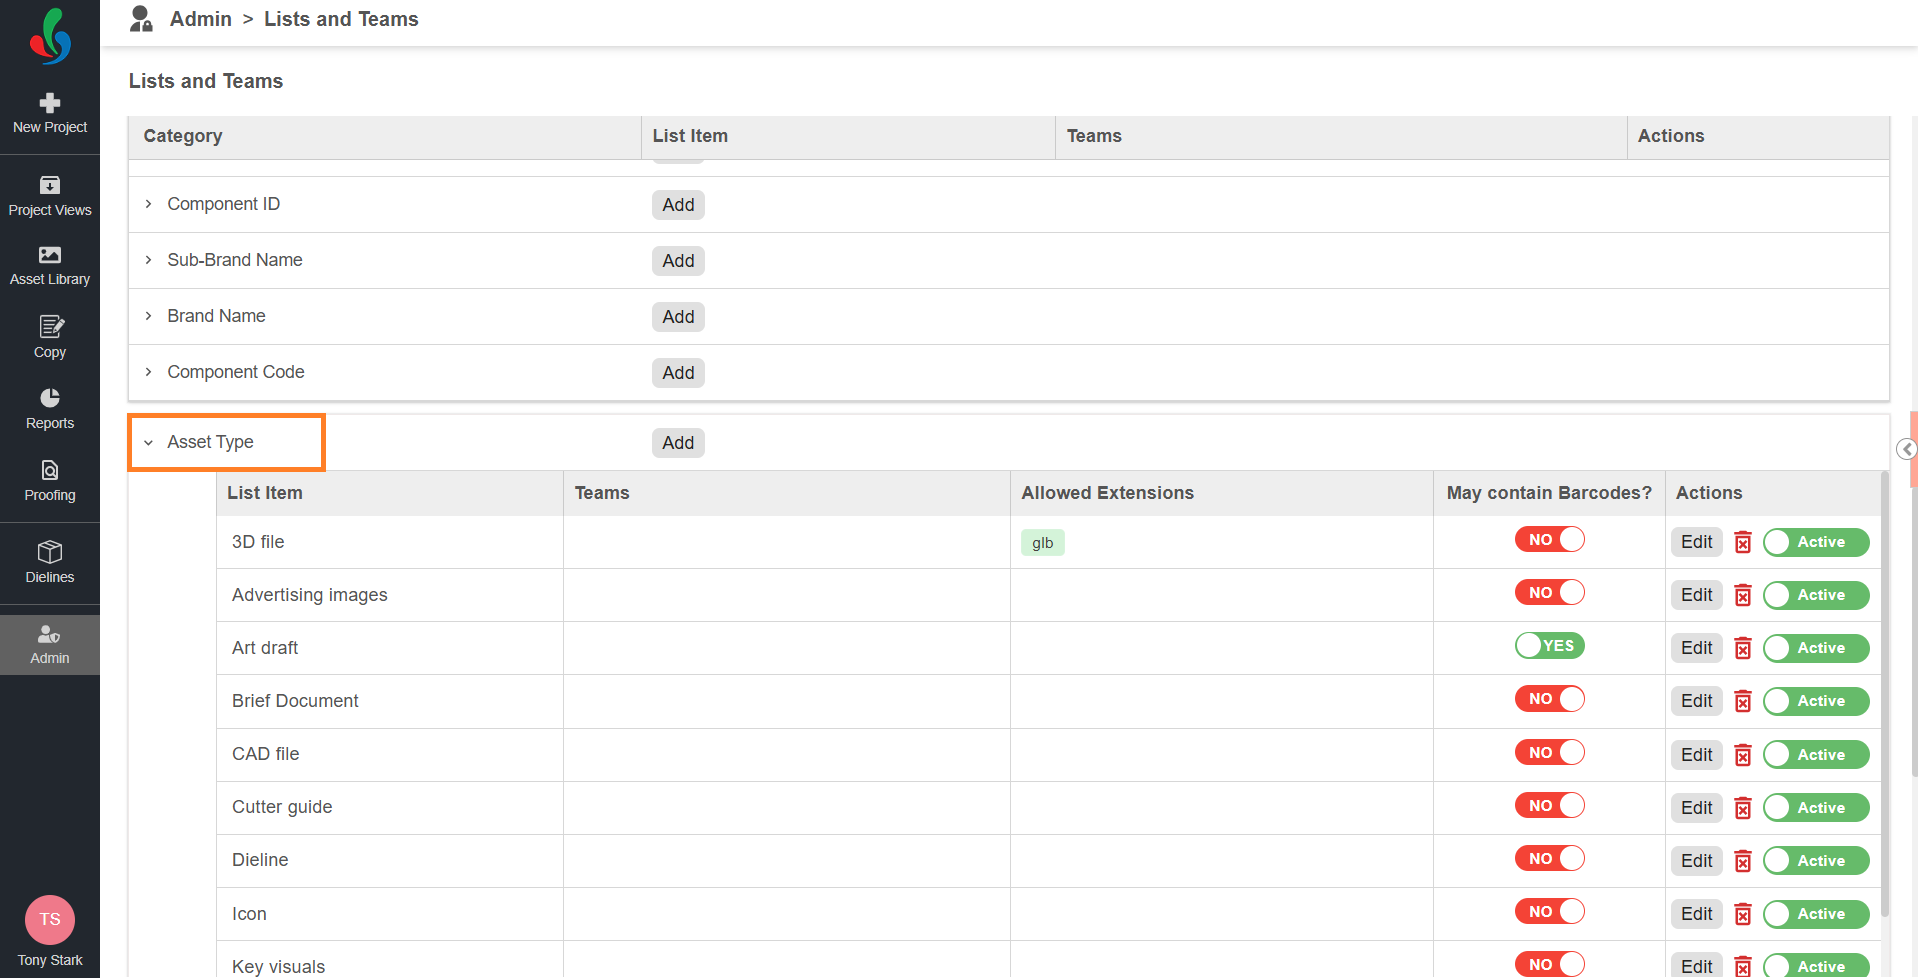
- Select Asset Type to expand it and see the existing asset types.
02. Add the Asset Type
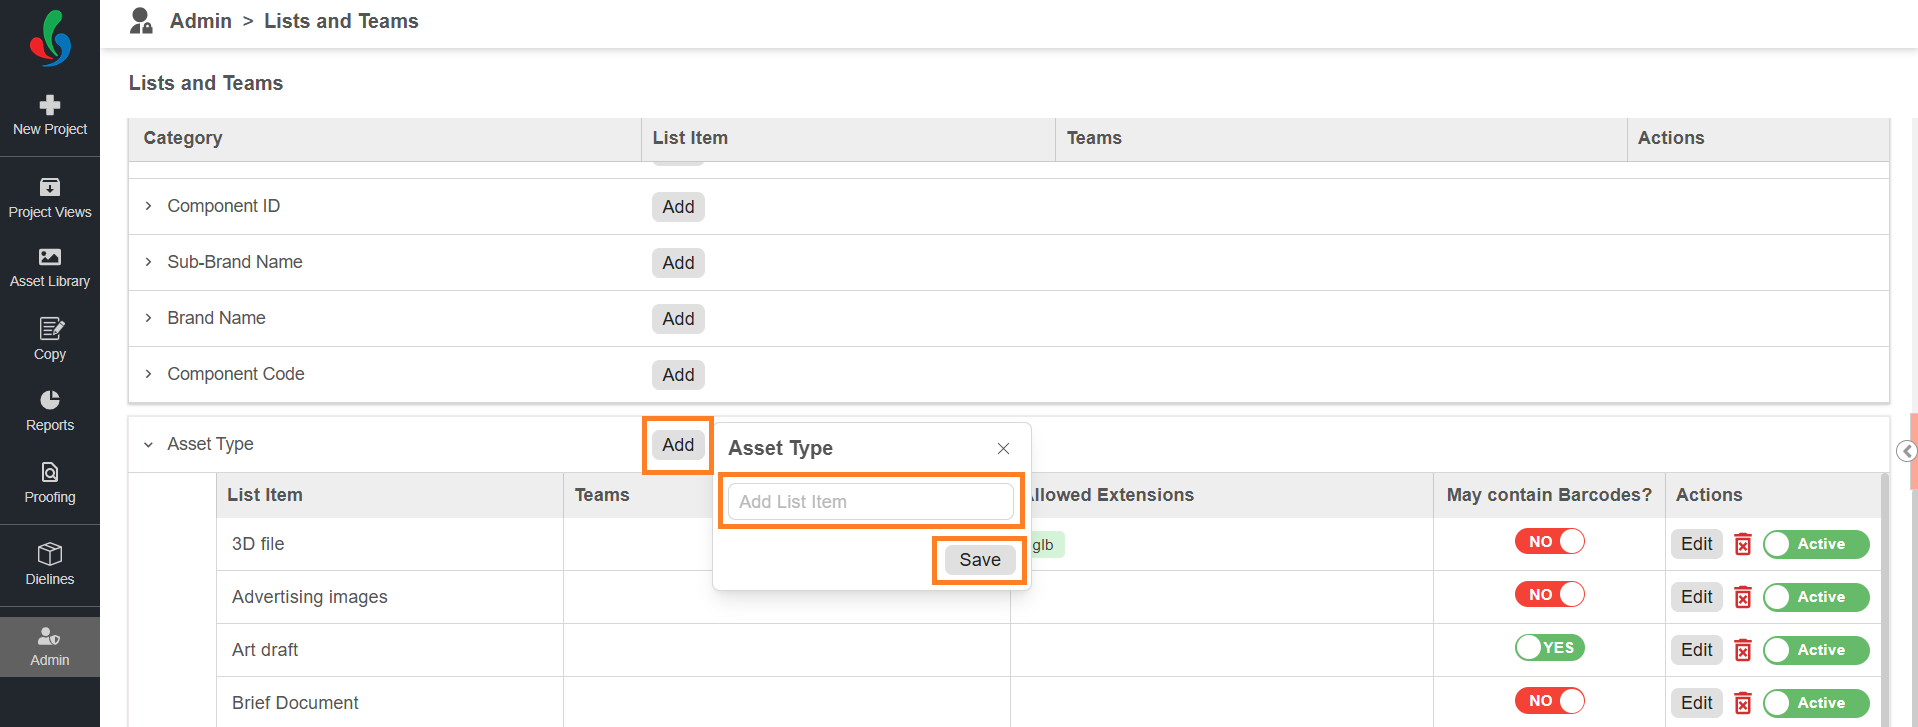
- Select Add in the List Item column associated with Asset Type.
- Enter a name that clearly reflects the type of asset — for example, Final Artwork, Dieline, or Product Photography.
Note: Make sure the name is unique. - Select Save.
03. Restrict File Extensions (Optional)
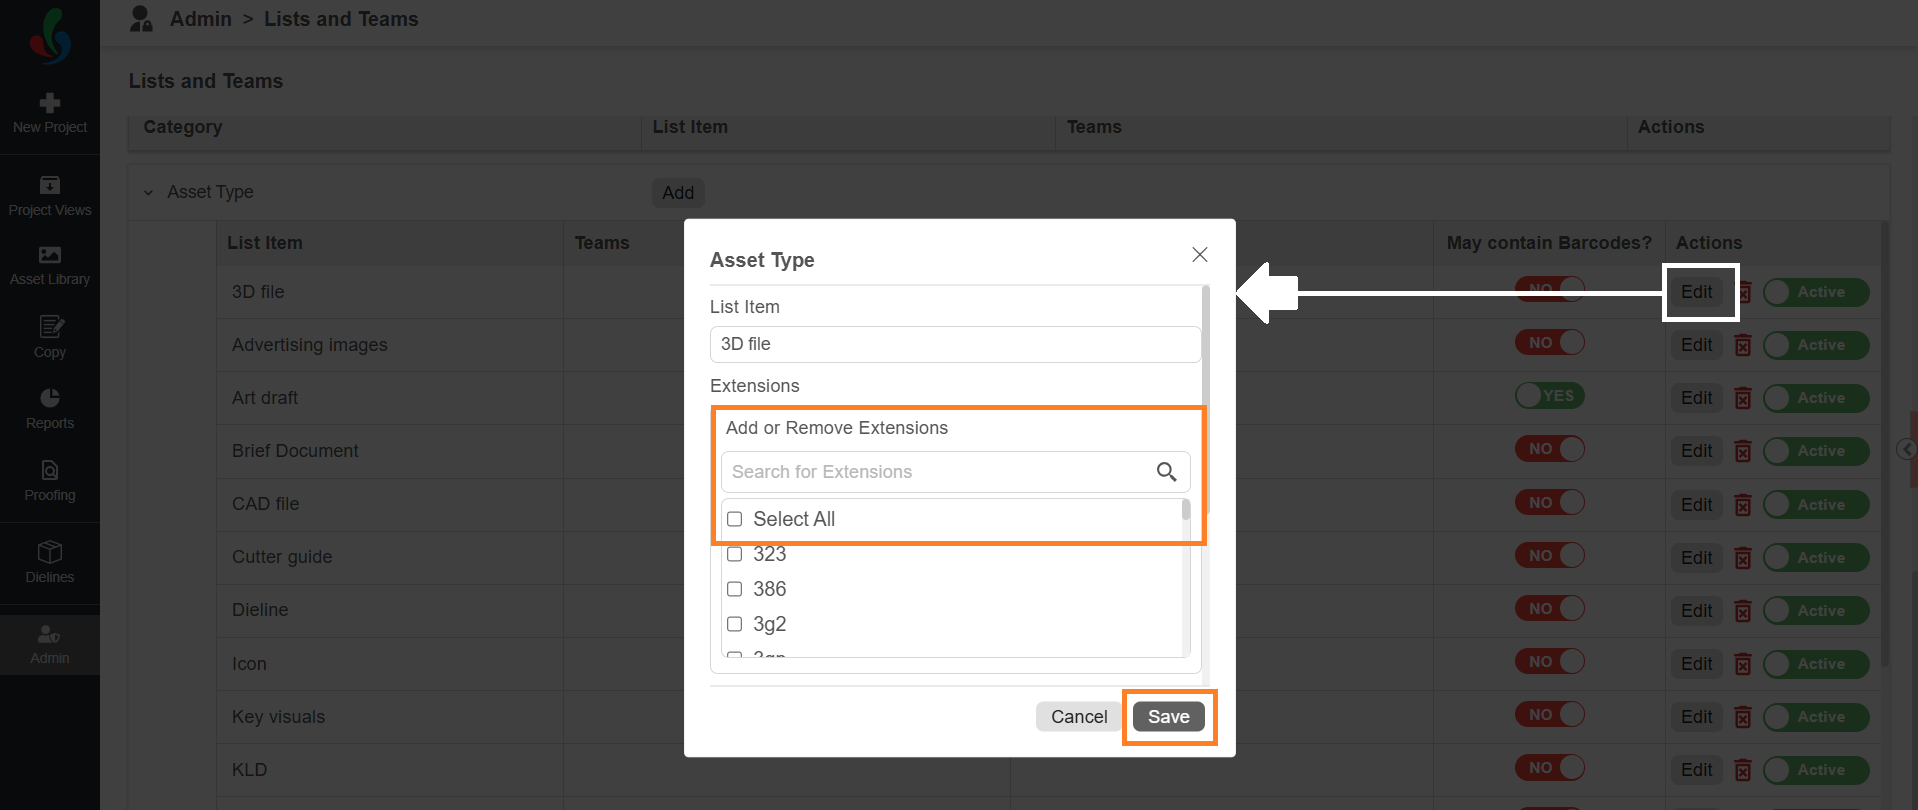
You can limit an asset type to specific file extensions, so users cannot upload the wrong kind of file — for example, restrict the 3D file type to glb.
- Select Edit in the Actions column for the required asset type.
- Under Extensions, select the extensions you want to allow. To find an extension quickly, use the Search for Extensions field.
- Select Save. The allowed extensions are displayed in the Allowed Extensions column, and users can upload only files with those extensions for this asset type.
| Note: If no extensions are selected, files with any extension can be uploaded. |

04. Enable Barcode Detection (Optional)
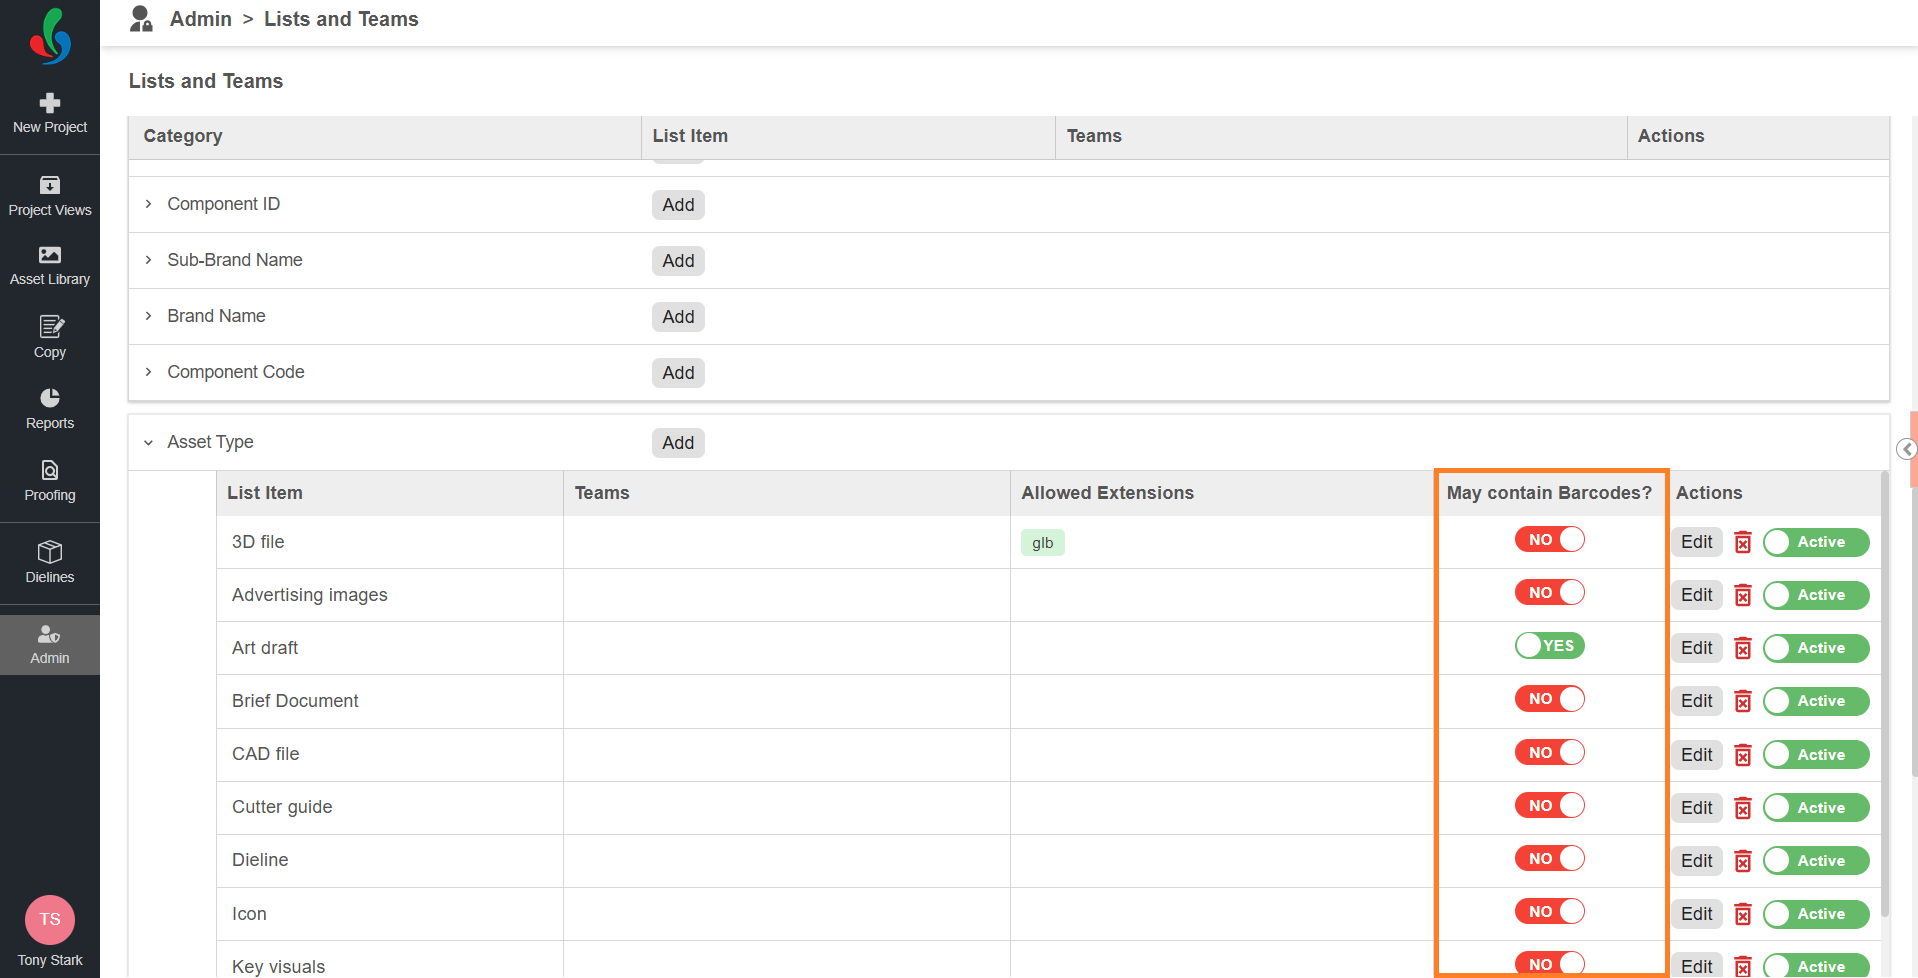
If files of an asset type contain barcodes, set May contain Barcodes? to YES. The system detects barcodes only in files of asset types with this enabled — and it detects them in advance, so when a user opens a file and starts the barcode check, the results are already prepared.
- Select the May contain Barcodes? toggle for the required asset type.
| Note: Barcode detection takes processing time, so enable it only for asset types that actually contain barcodes — for example, final artwork rather than brief documents. |
Manage Asset Types
To Edit an Asset Type
- Select Edit in the Actions column for the required asset type.
- Update the name, the allowed extensions, or the assigned users.
- Select Save.
To Delete or Deactivate an Asset Type
To take an asset type out of use, you can either delete it or deactivate it.
 | Note: An asset type that is used by files or projects cannot be deleted — deactivate it instead. A deactivated asset type is no longer available for users to select, and existing files keep it. |
To Delete an Asset Type
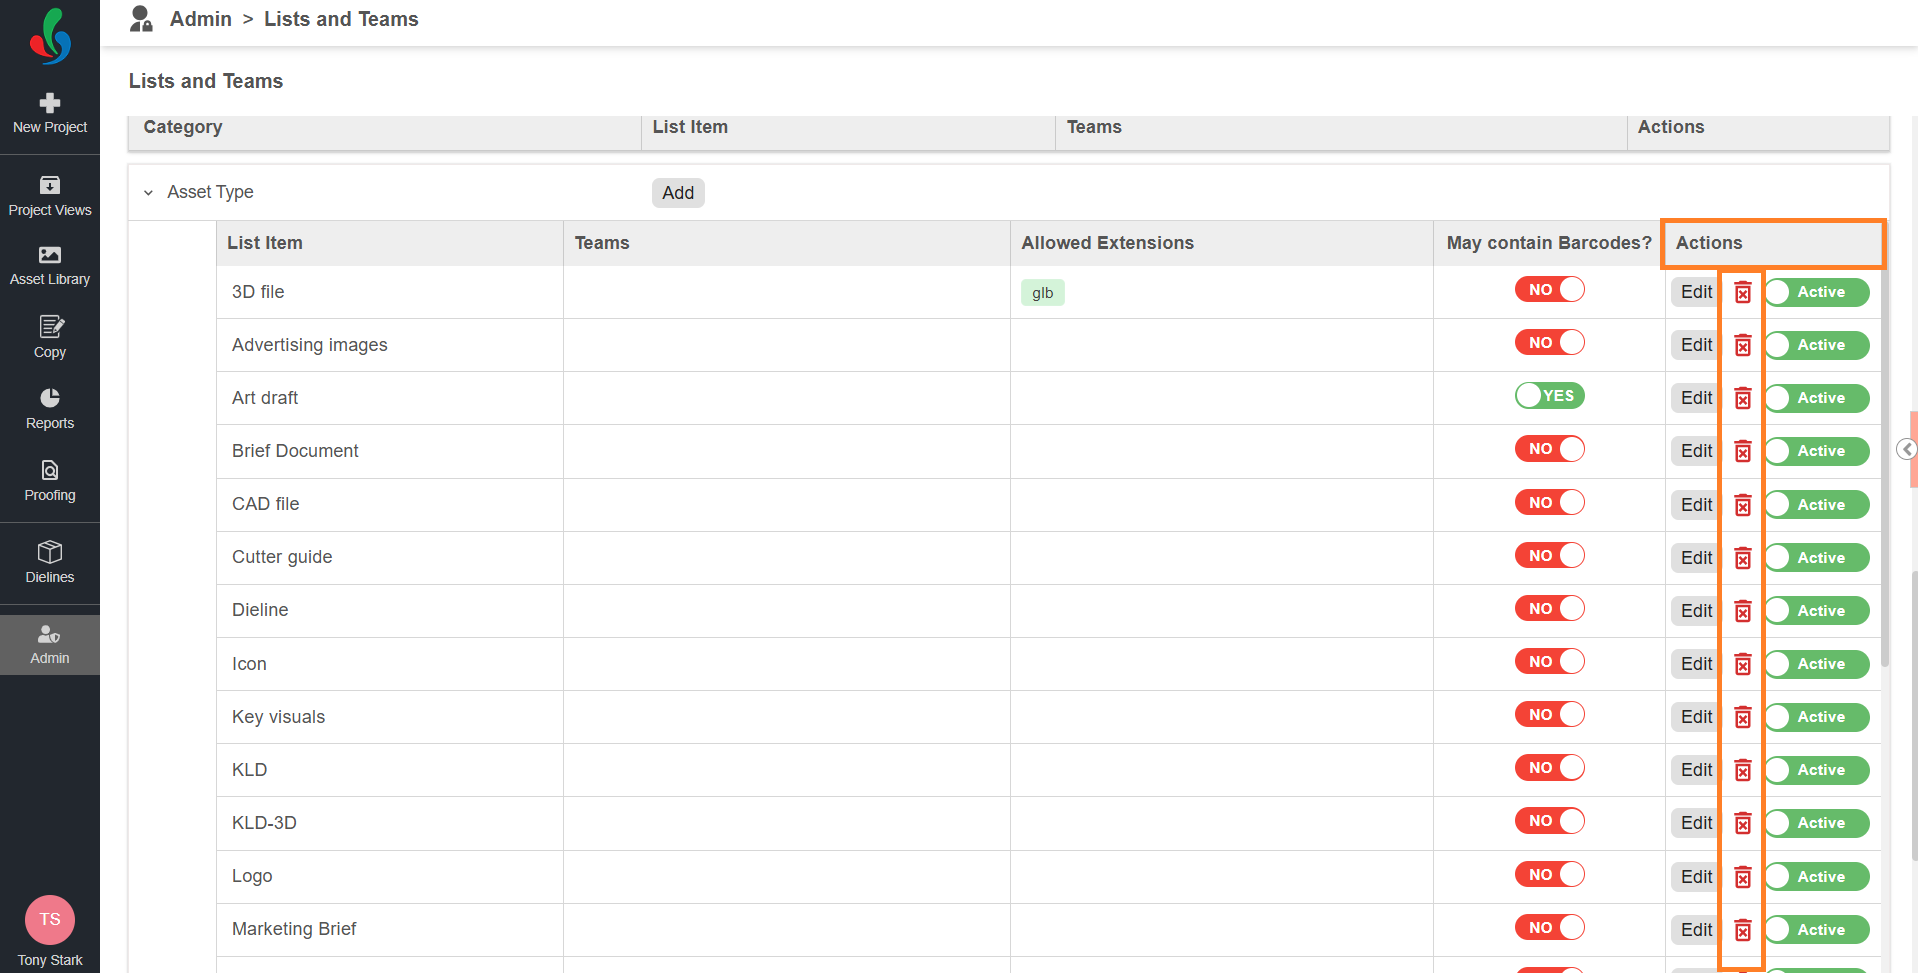
- Select the delete icon in the Actions column for the required asset type.
- Select Ok in the confirmation dialog.
To Deactivate an Asset Type:
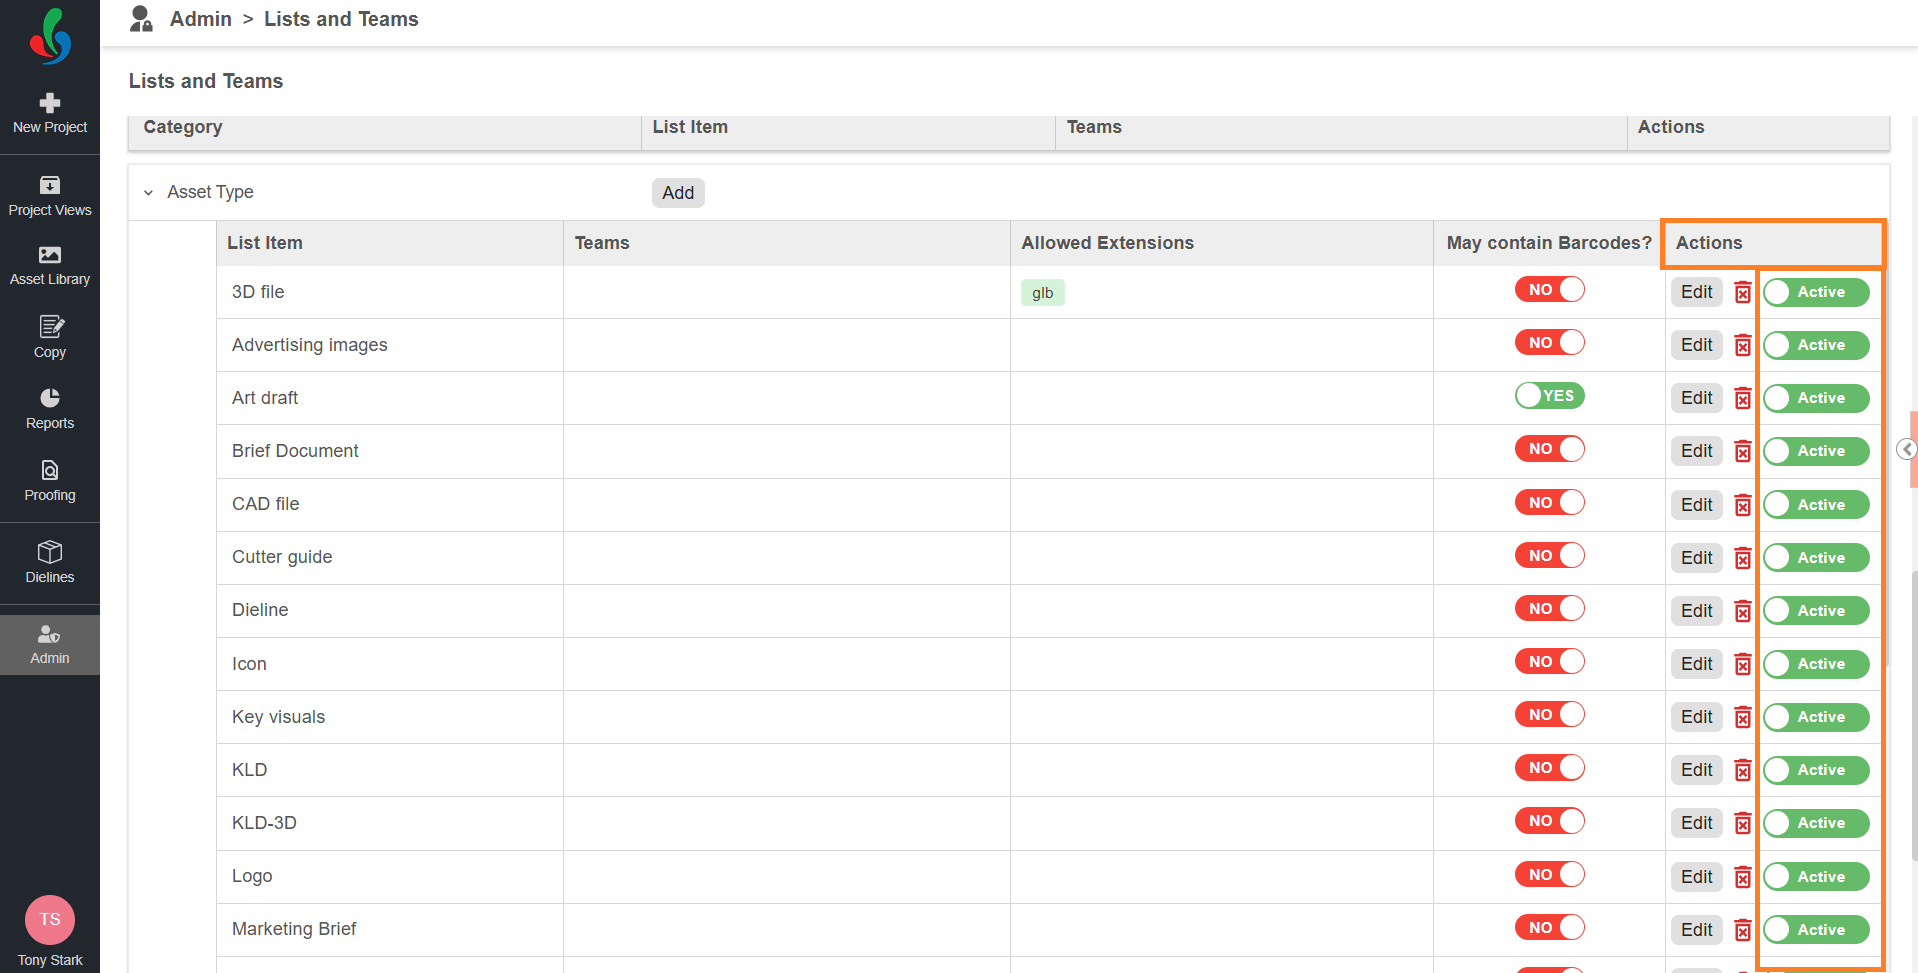
- Select the status toggle for the required asset type. The asset type is set to In-active.
- To make it available again, select the status toggle to make it Active.