Add/Edit Lists and Teams
Create and manage lists and teams, facilitating structured collaboration and organization within the projects.
Lists are the master data behind your fields. Set up the values for a field once — such as the departments, brands, or printers your organisation works with — so users select a value from the list instead of typing it in every time.
Assigning users to a list item creates a team, which you can then use to route tasks and control access.
 | How Teams Are UsedOnce you assign users to a list item, that team can be used in the following ways.
|
| Note: The Asset Status and Asset Type categories have extra settings. To add or edit their values, refer to Add/Edit Asset Status and Add/Edit Asset Type. |

How to Add a List Item
01. Access Lists and Teams
- Sign in to your ManageArtworks account.
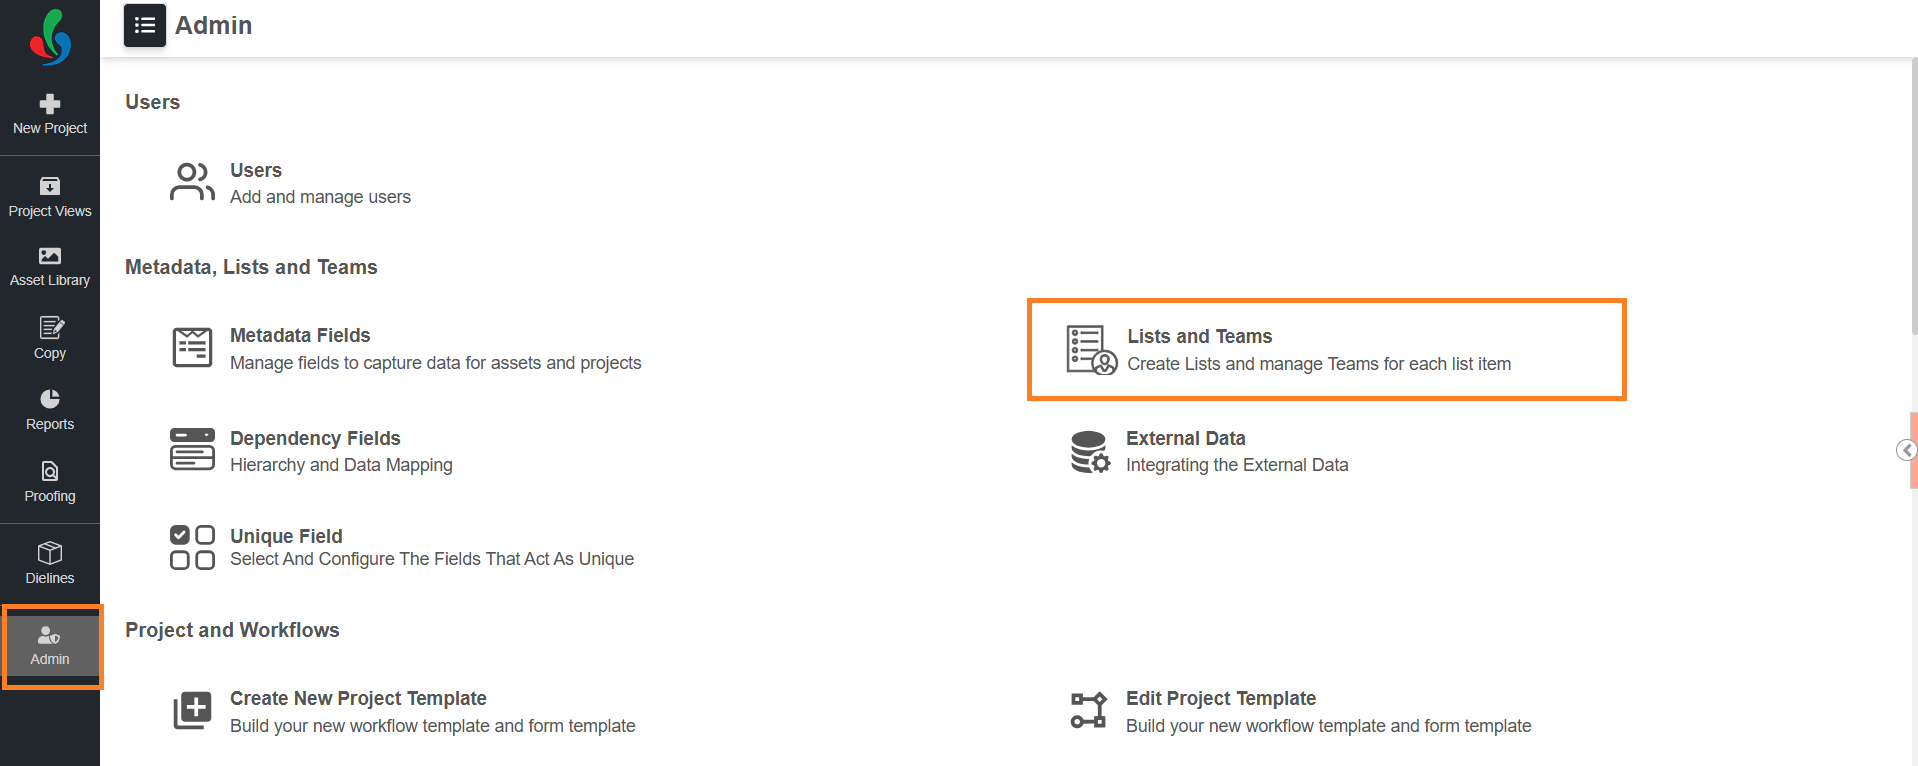
- Navigate to the Admin module.
- Select Lists and Teams. The page lists the categories set up for your account.
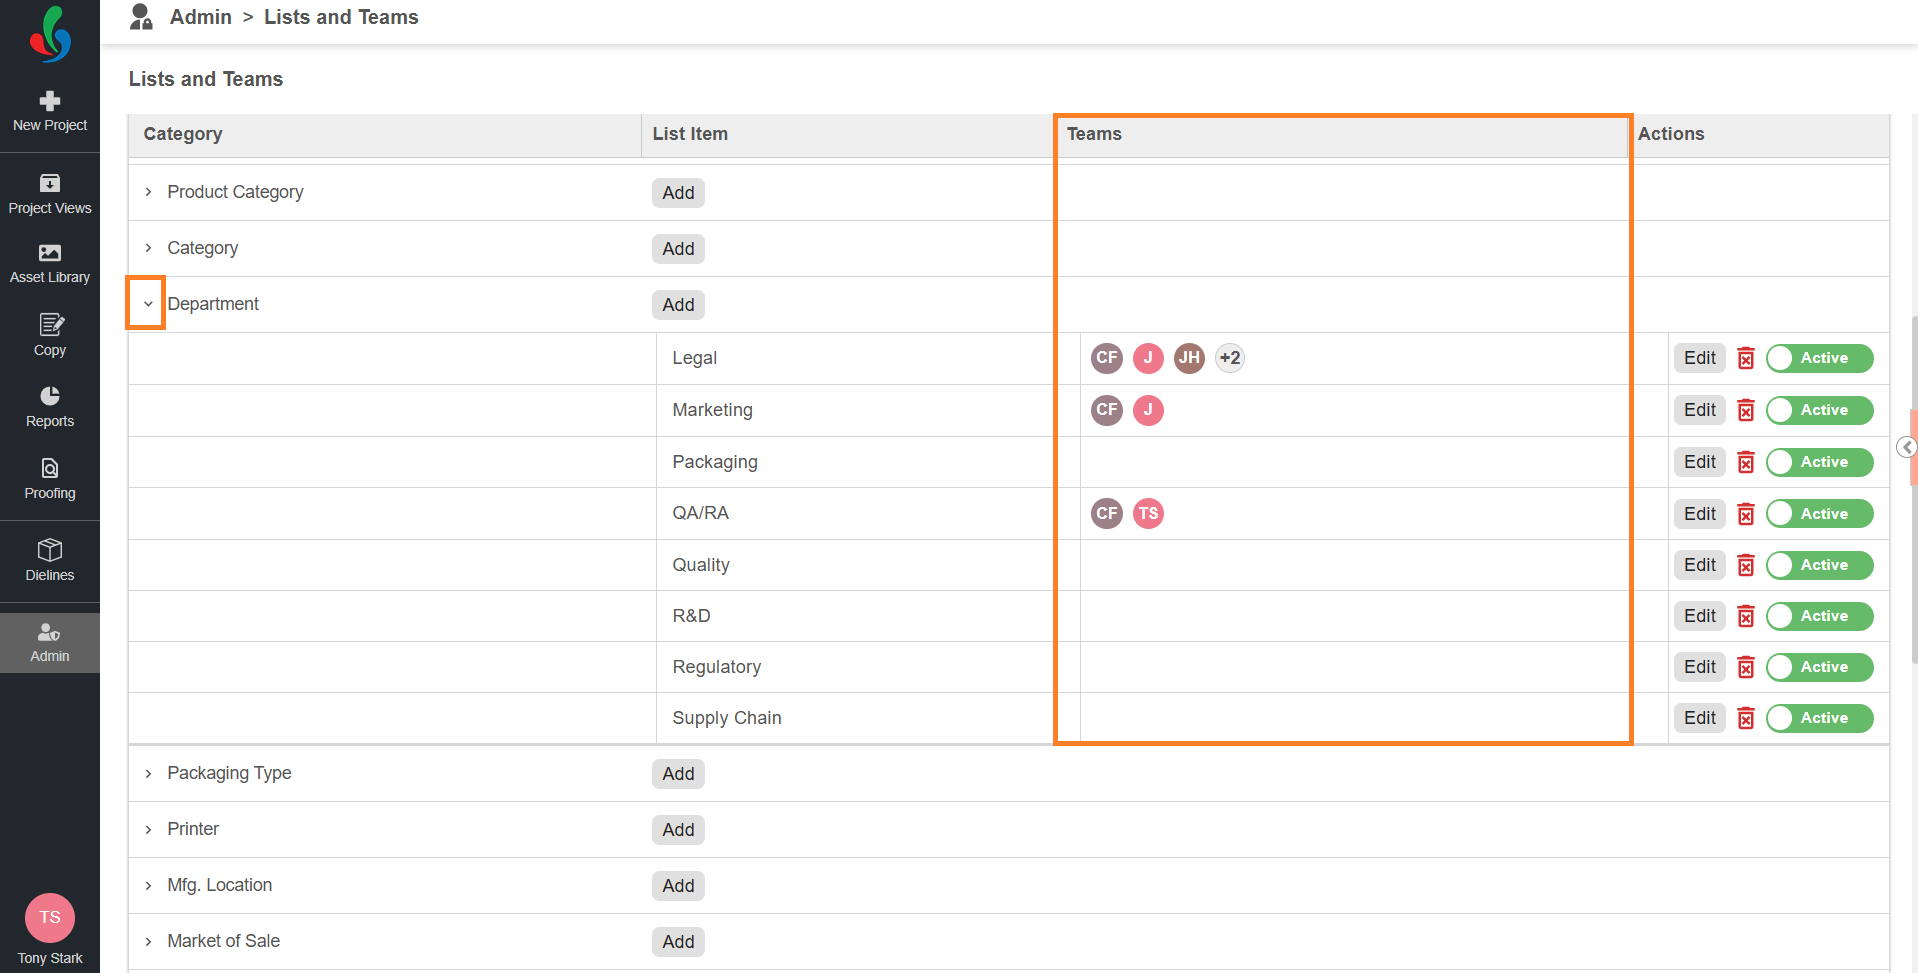
- Select a category to expand it and see its list items. The Teams column shows the users assigned to each list item.
02. Add the List Item
 | Note: Only metadata fields with Use as Collection enabled appear on this page. If the category you want to add a list item to is not listed, enable Use as Collection for that field first. For more information, refer to Metadata Fields (Enterprise Plan). |
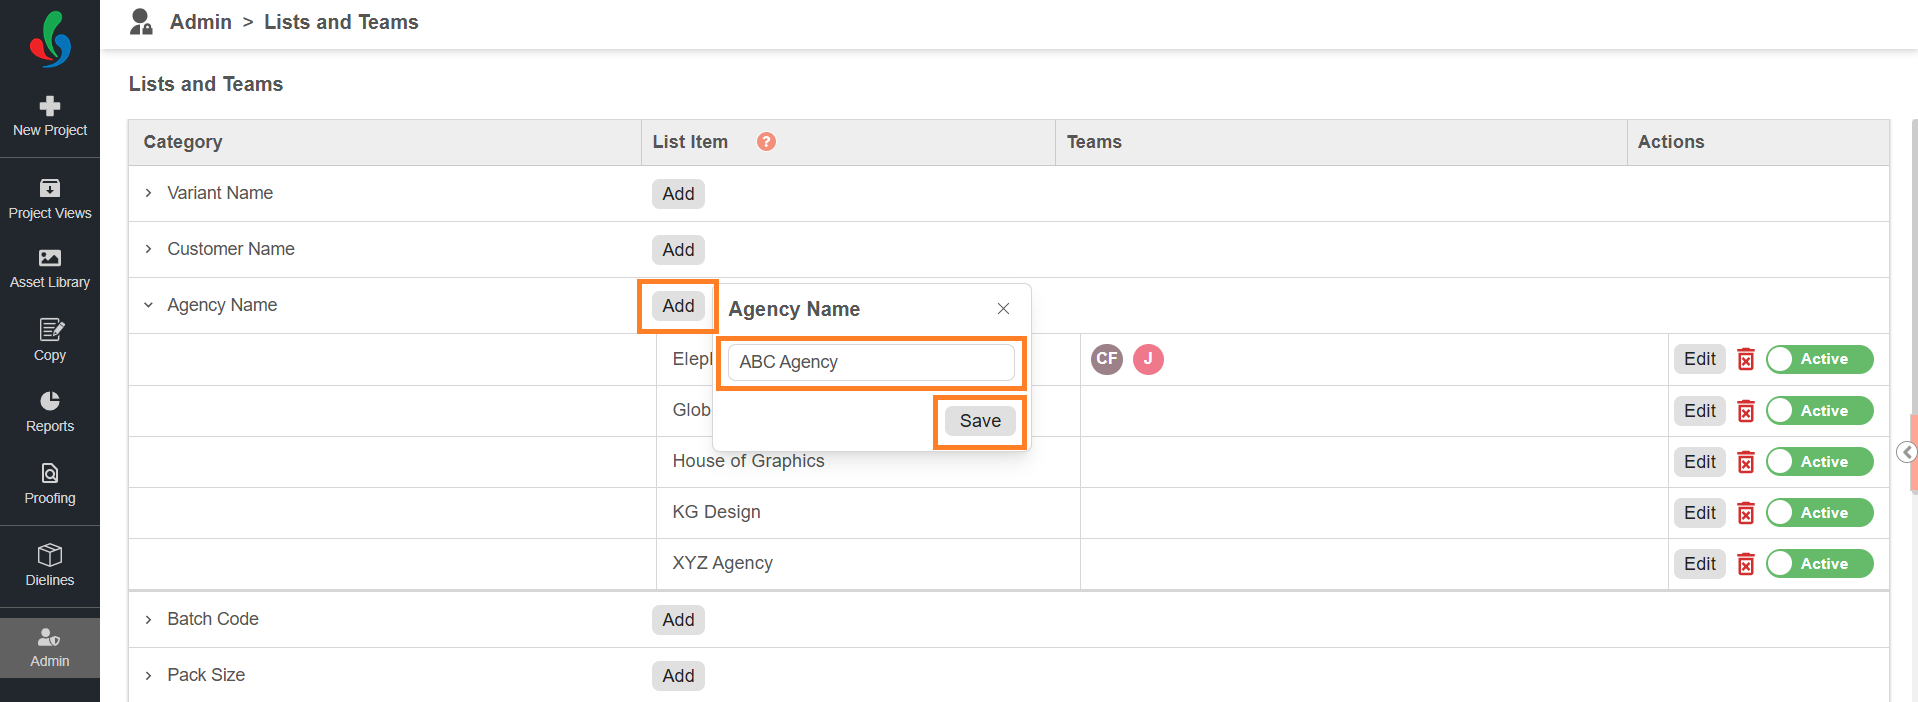
- Select Add in the List Item column for the required category.
- Enter a name for the list item.
Note: Make sure the name is unique within the category. You can enter up to 250 characters. - Select Save.
How to Assign Users to a List Item
Assigning users to a list item creates the team for that value.
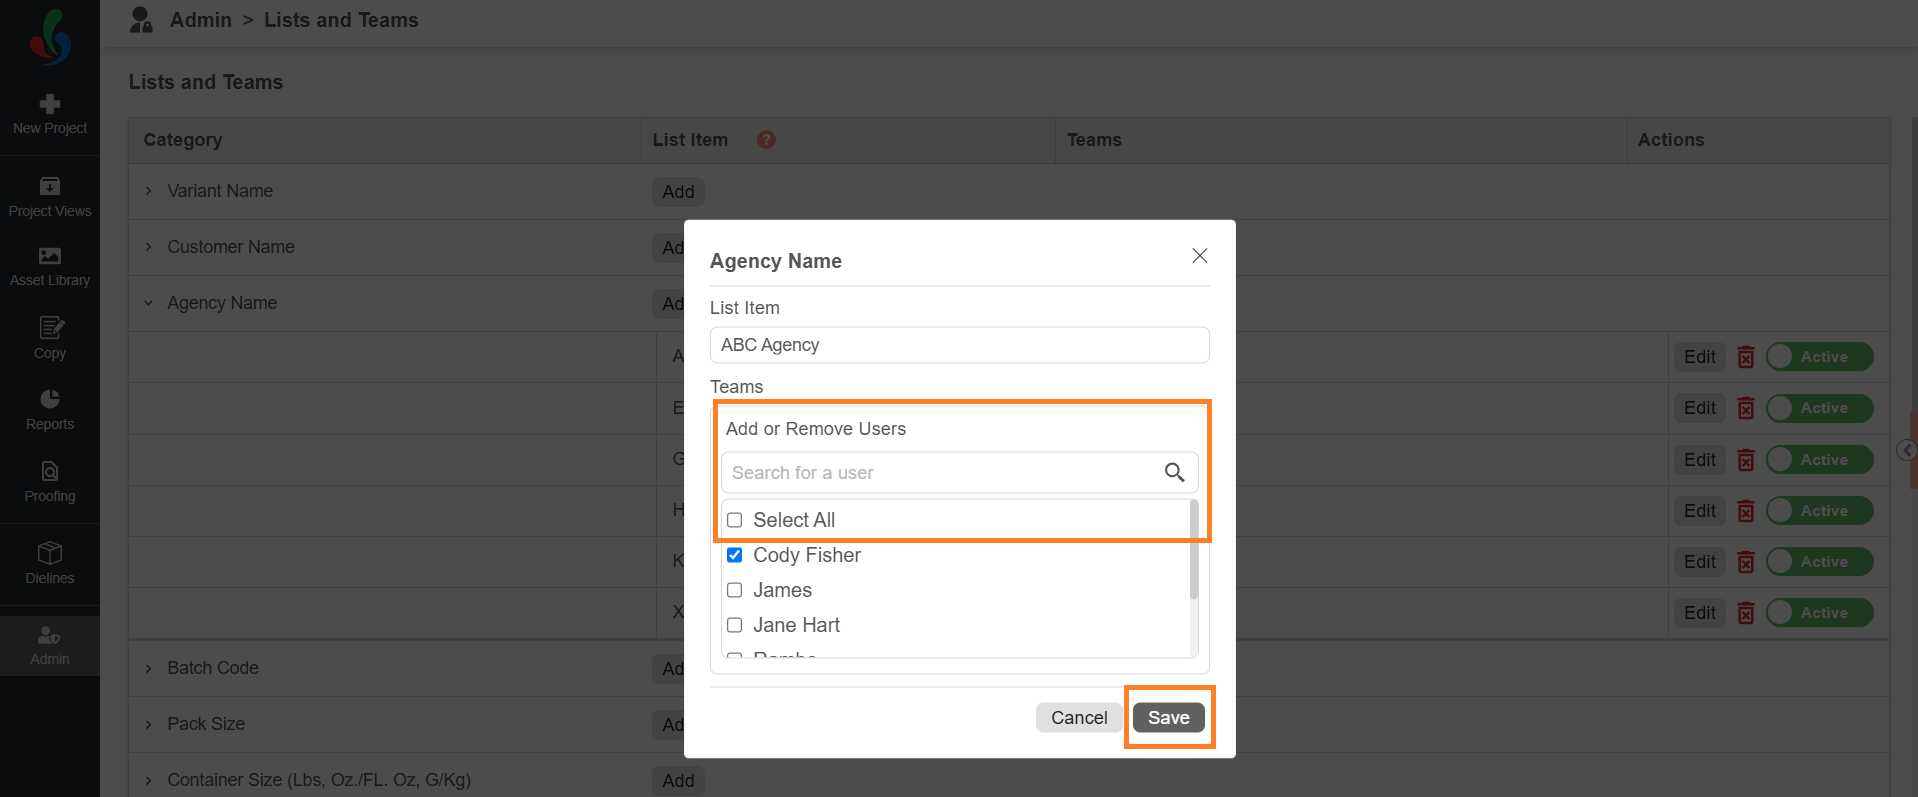
- Select Edit in the Actions column for the required list item.
- Under Teams, select the checkbox next to each user you want in the team. Use Search for a user to find a user by name, or select Select All to add everyone.
- To remove a user from the team, clear their checkbox.
- Select Save.
How to Edit a List Item
| Note: Once a list item is used in a project, its name can no longer be changed. You can still add and remove users. |
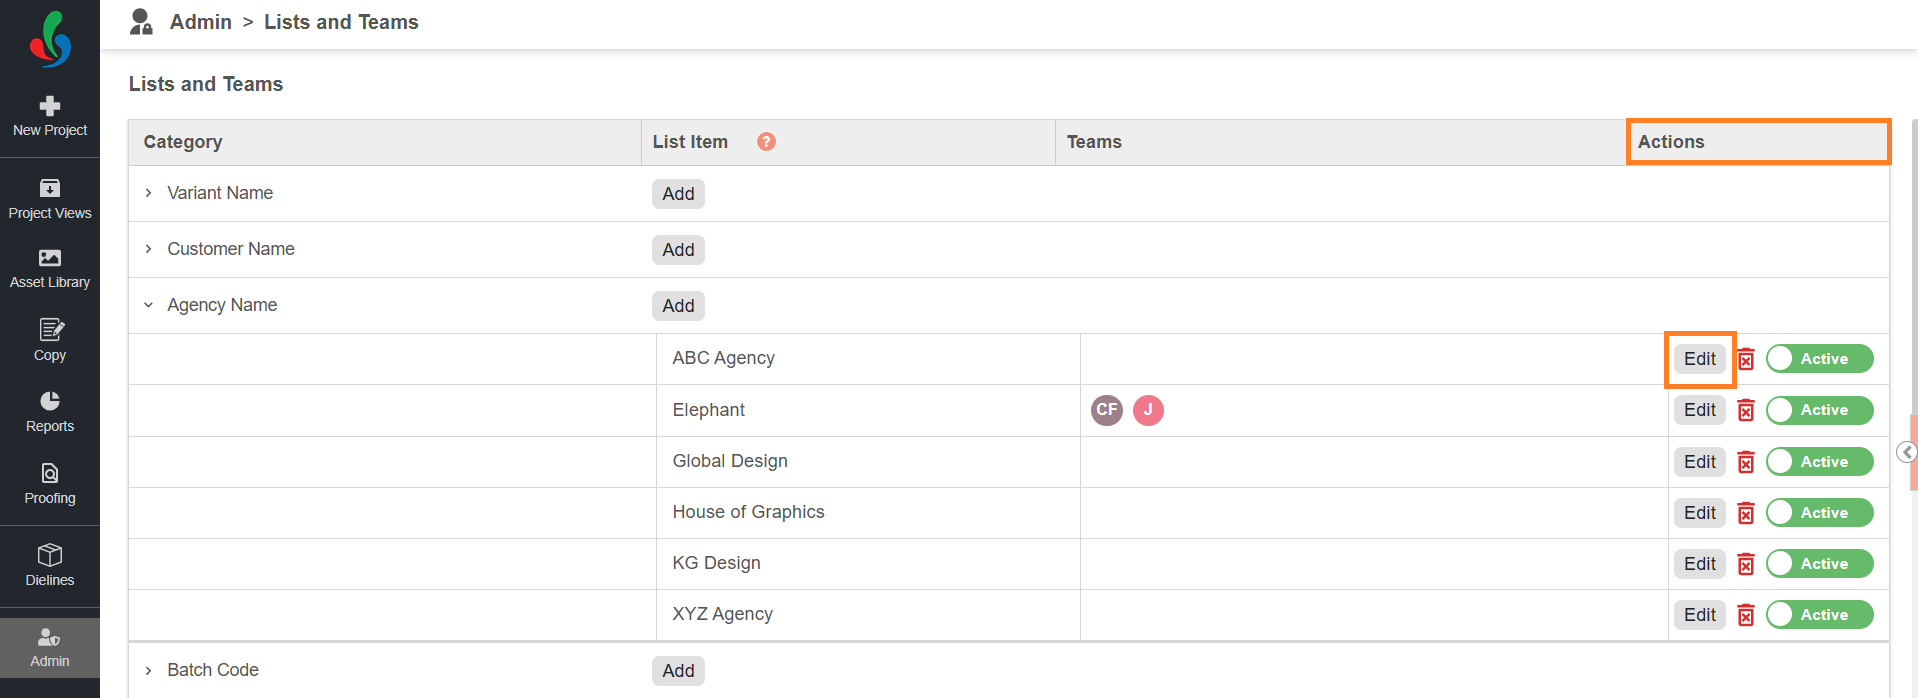
- Select Edit in the Actions column for the required list item.
- Update the name, or add and remove users.
- Select Save.
How to Delete or Deactivate a List Item
To take a list item out of use, you can either delete it or deactivate it.
| Note: A list item that is used in a project cannot be deleted — deactivate it instead. A deactivated list item is no longer available for users to select, and projects that already use it keep the value. |
To Delete a List Item
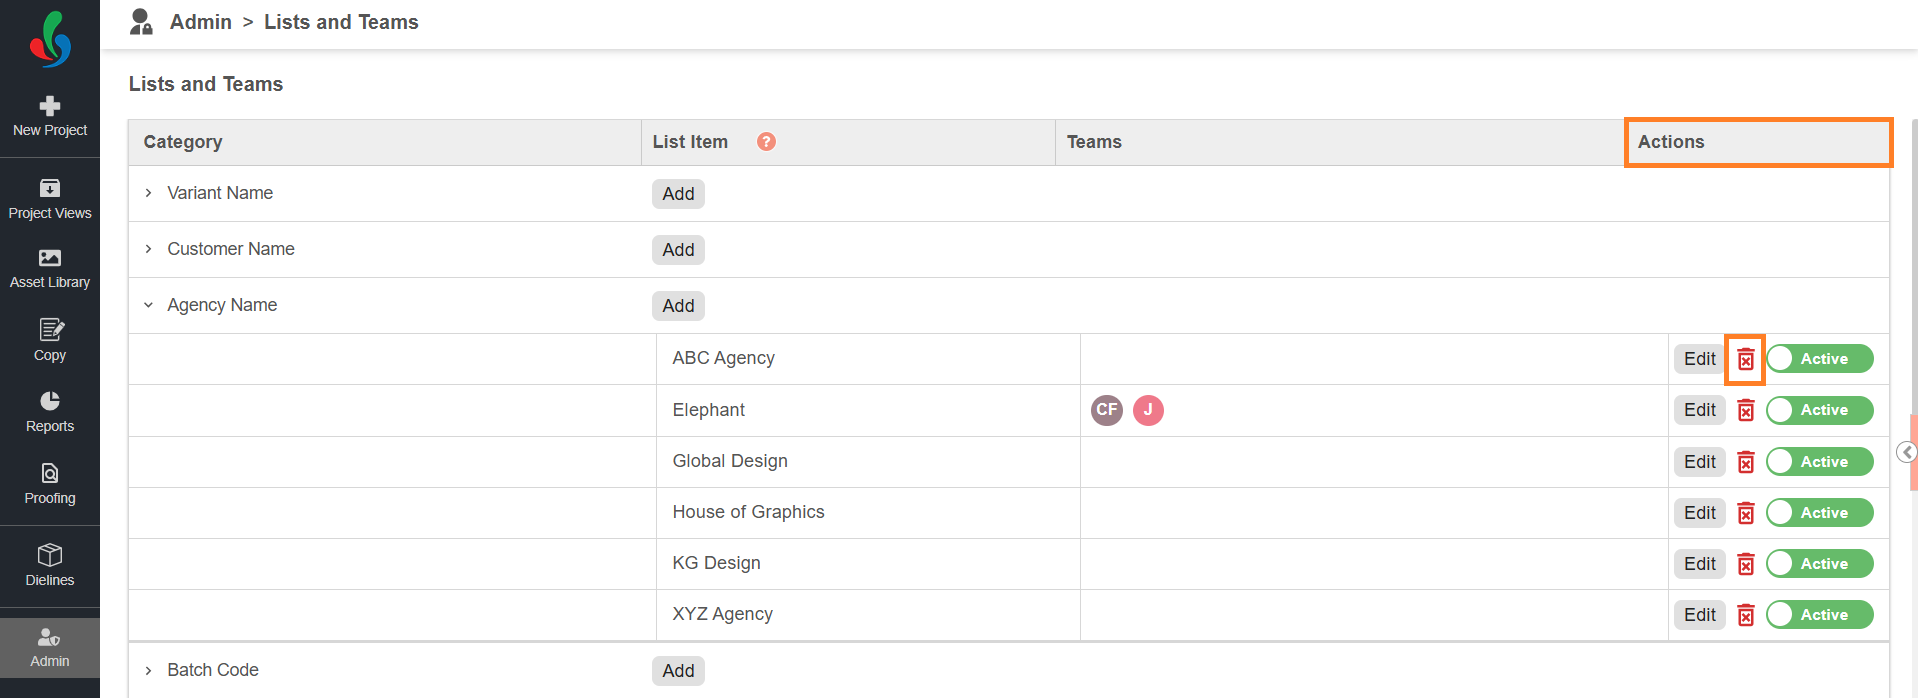
- Select the delete icon in the Actions column for the required list item.
- Select Ok in the confirmation dialog.
To Deactivate a List Item
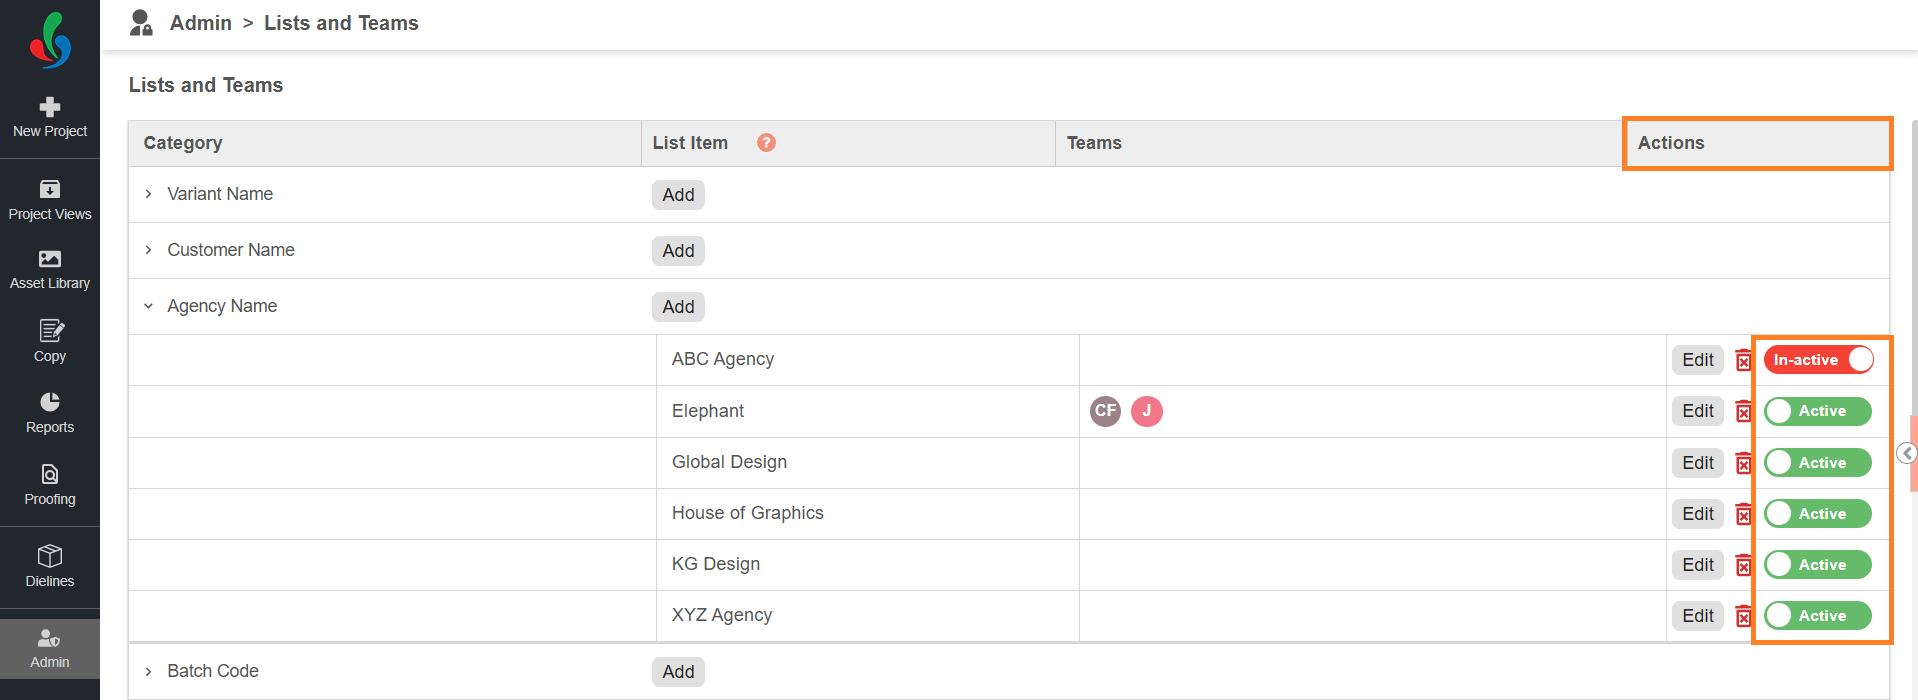
- Select the status toggle for the required list item. The list item is set to In-active.
- To make it available again, select the status toggle to make it Active.