
Dieline Parameter Configuration
The Dieline Parameter Configuration section allows you to define the default settings used for dielines in the Web Viewer.
Using this configuration, you can:
- Set the default Unit of Measurement (UOM)
- Define the default Bleedline Thickness
- Configure acceptable Asset Types for Dieline files
- Configure acceptable Asset Types for Artwork files
These settings control how dielines and artwork behave during linking and overlay validation.
Configure Dieline Parameter Settings
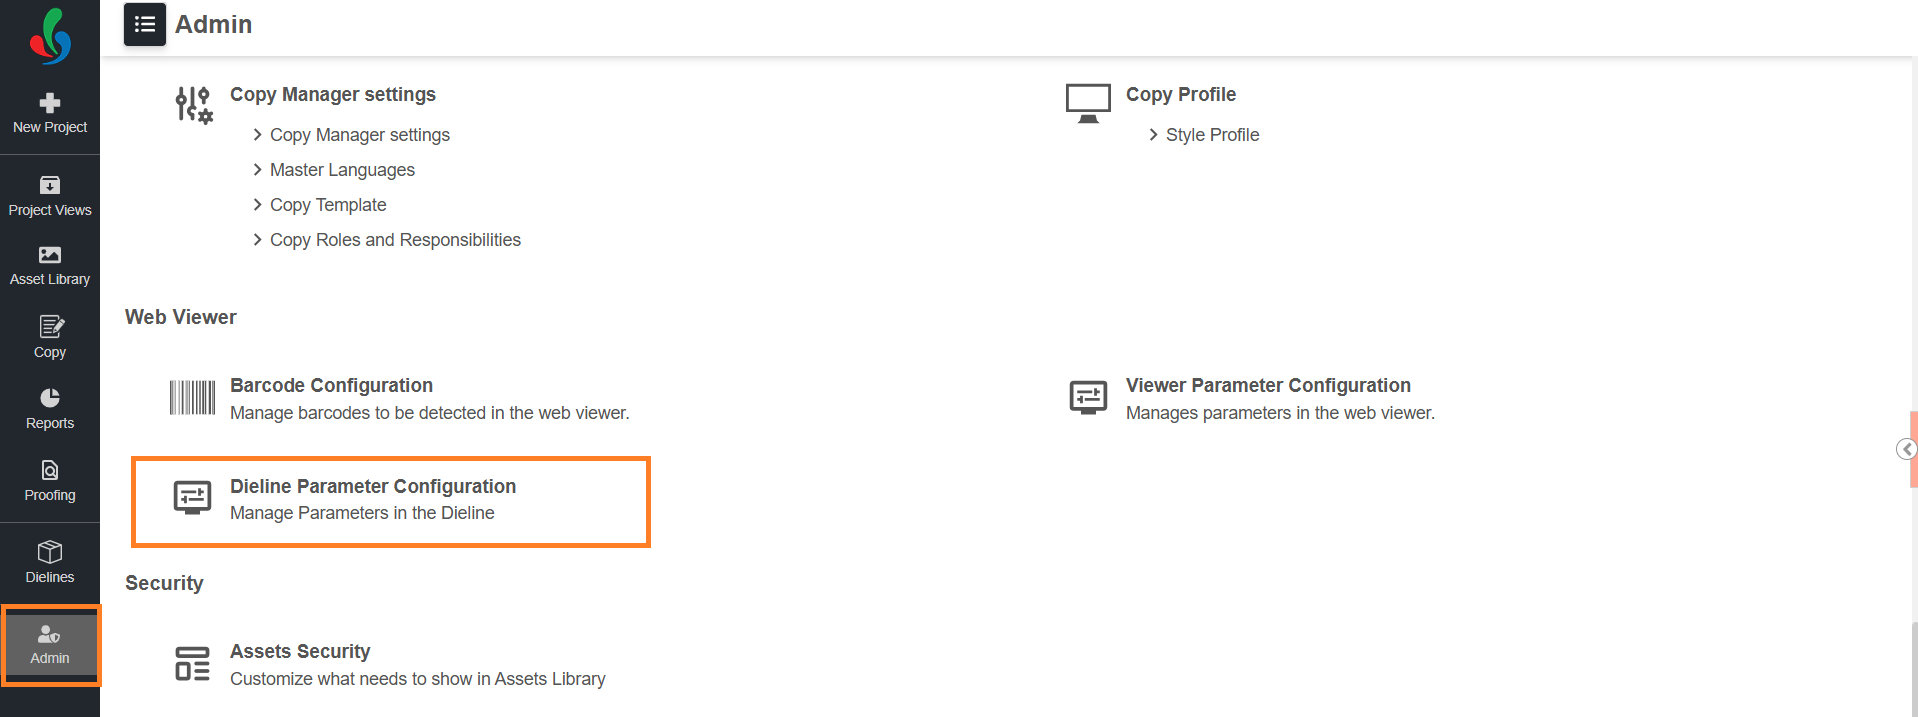
01. Access Dieline Parameter Configuration
- Sign in to your ManageArtworks account.
- Select the Admin module.
- Under the Web Viewer section, select Dieline Parameter Configuration.
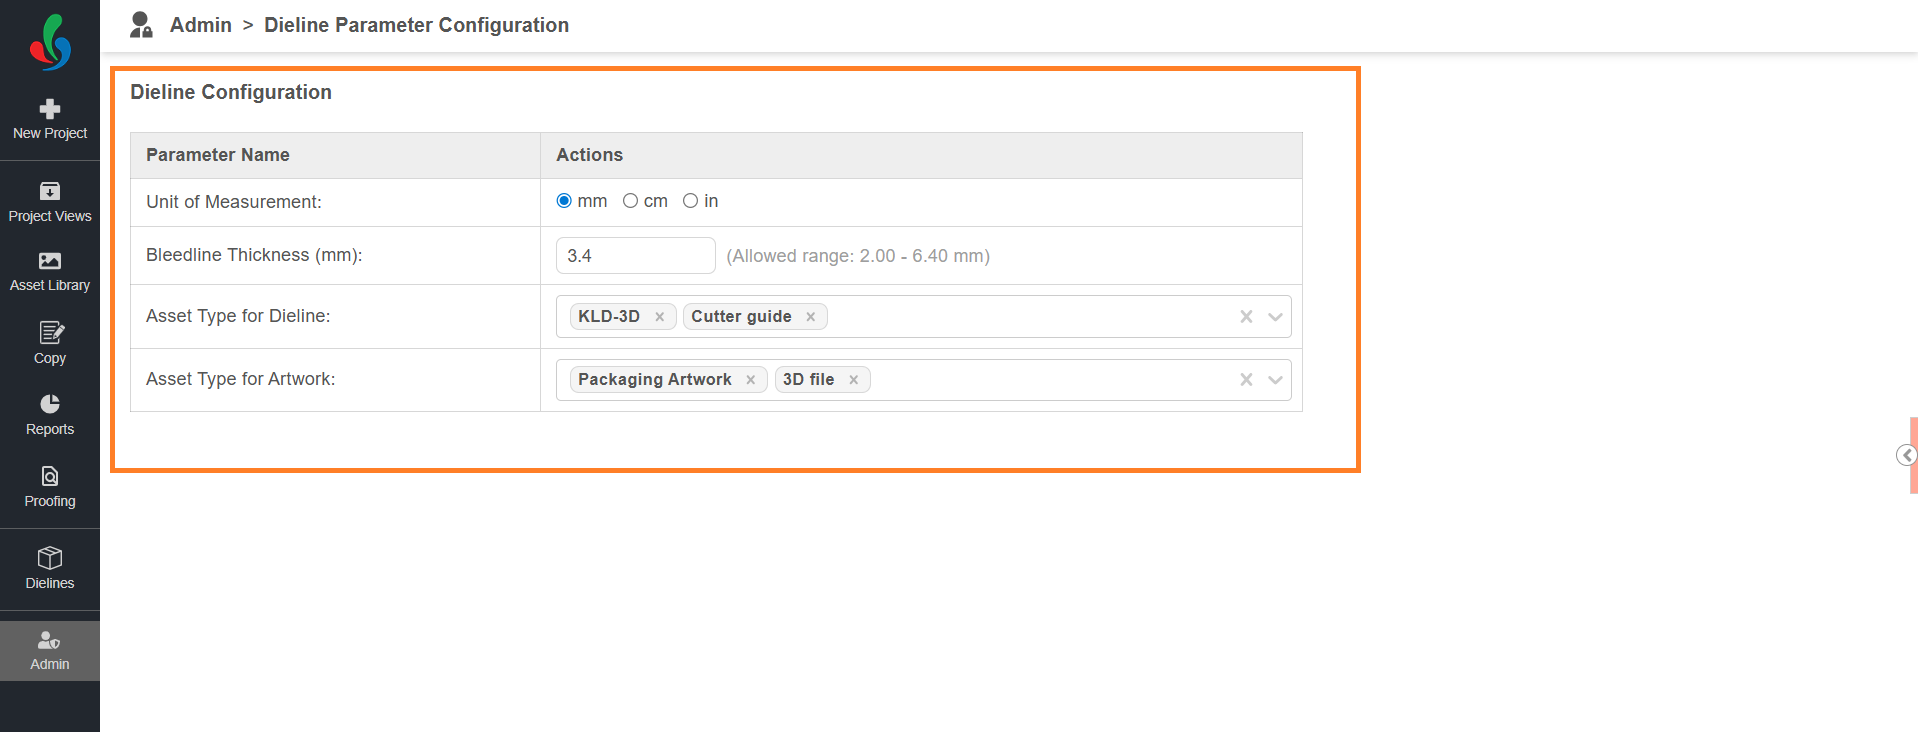
02. Configure the Dieline Parameters
| Parameter | Description | Allowed Values / Notes |
|---|---|---|
| Unit of Measurement | Select the default measurement unit used for dielines. | mm, cm, in |
| Bleedline Thickness | Define the default bleed thickness applied to dielines. | mm: 2.00 – 6.40 mm, cm: 0.20 – 0.64 cm, in: 0.08 – 0.25 in |
| Asset Type for Dieline | Select the asset types that should be treated as Dieline files. Only selected types can be linked as a dieline. | Example: KLD-3D, Cutter Guide |
| Asset Type for Artwork | Select the asset types that should be treated as Artwork files. Only selected types will trigger Overlay Check when linked with a dieline. | Example: Packaging Artwork, 3D File |
03. Save and Publish
In Dieline Parameter Configuration, saving and publishing are handled automatically.
Once you configure the parameters, it is auto-saved and immediately available for use in projects. There is no separate Publish action required.
Changes will not automatically update projects that are already in progress.
The updates will apply only to projects where the template is used after the modification.