---
title: "Add a New User (Growth Plan)"
url: "https://help.manageartworks.com/en/article/add-a-new-user-growth-plan"
language: "en"
last_updated: "2025-11-21T13:56:01.937Z"
---
# Add a New User (Growth Plan)
|  | **Note:** The options available when adding a new user differ between the Growth and Enterprise plans.This article covers adding a new user in the **Growth Plan**.
For information about adding a new user in the **Enterprise Plan**, see [Add a New User (Enterprise Plan)](https://help.manageartworks.com/en/article/add-a-new-user-enterprise-plan). |
| --- | --- |
## Watch a quick video tutorial and get started
[Add users](https://player.vimeo.com/video/915560012?badge=0&autopause=0&player_id=0&app_id=58479)
> How do I add a new user?
## 01\. Access the Admin Module
1. Sign in to your [ManageArtworks](https://app.manageartworks.com/karomi/global/build/login) account.
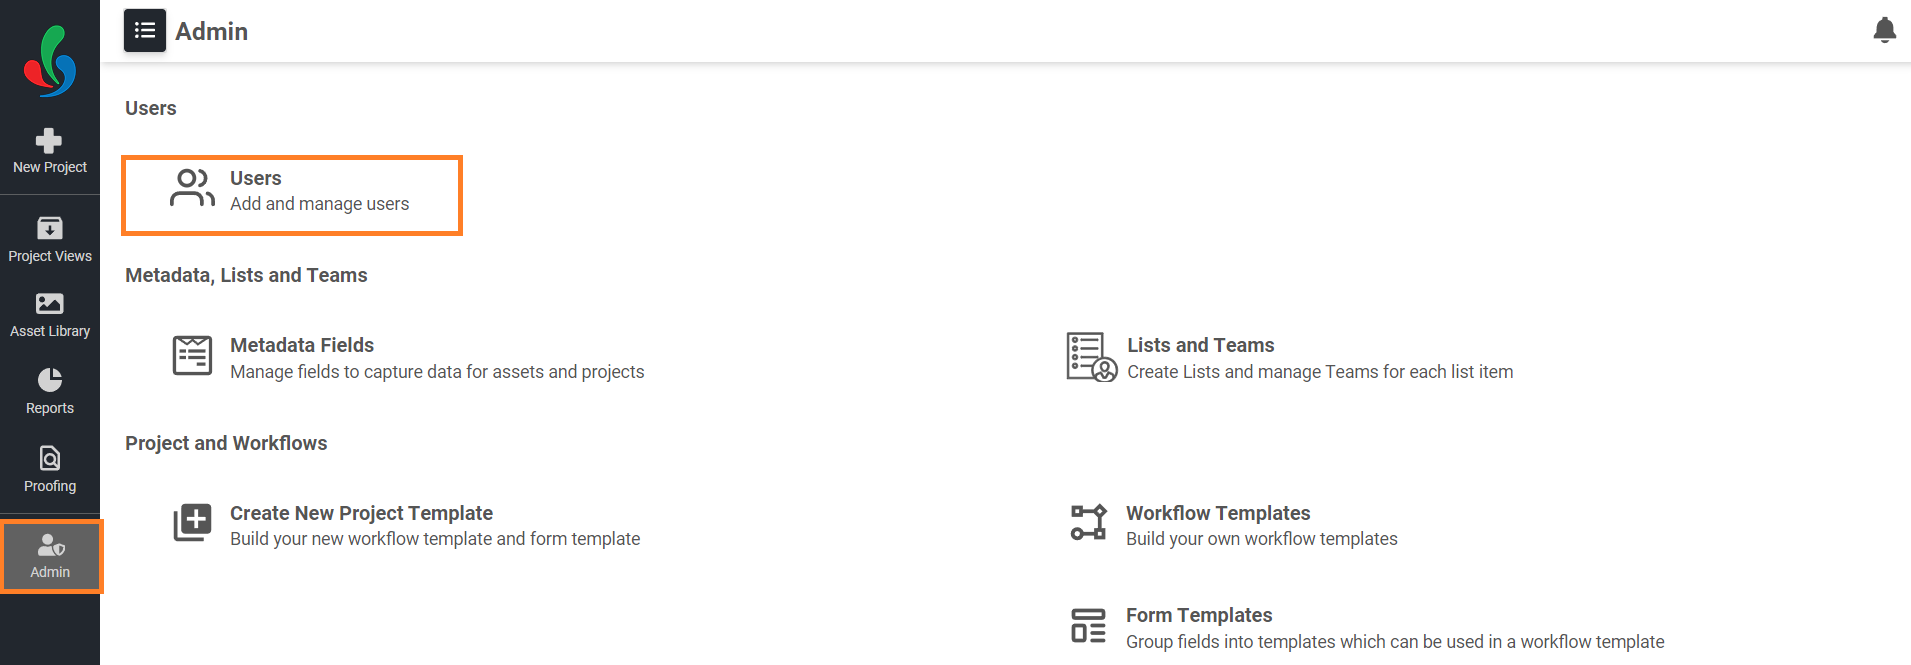
2. Navigate to the **Admin** module.
3. Select **Users**.
## 02\. Create a New User
1. Select the **Add New User** button in the upper-right corner.
2. A pop-up form opens and prompts you to enter the following details:
- **Full Name:** Enter the user's full name.
- **Email Address:** Enter a valid email address for the user.
- **Type of User:** Choose the appropriate security level:
- **Normal:** For basic access to view, upload, download, share, and update files.
- **Power:** Includes all Normal permissions plus delete rights and eligibility for admin access.
- **Restricted:** For limited viewing and sharing permissions, with custom configurations.
- **Set as Admin (Optional):** Select this checkbox to grant administrative privileges. Users with admin rights can access the Admin module and use all administrative features.
**Note:** Only **Power** users can be set as Admins.

## 03\. Assign Teams
|  | **Important – Applies Only To Restricted User Type**
If you're creating a **Restricted** user, selecting an **Asset Type** is mandatory. This defines the type of assets the user can access. Click the Teams drop down menu and select desired asset type(s).
 |
| --- | --- |
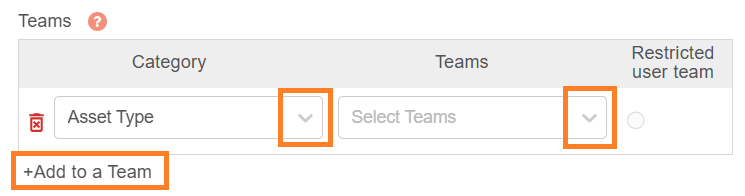
1. Select **+Add to a Team** to associate the user with a specific category and one or more teams.
2. Select a category from the Category drop-down list.
3. Select one or more teams from the Teams drop-down list.
|  | **Note: Restricted** users can be assigned to only one team. **Normal** and **Power** users can be assigned to multiple teams. |
| --- | --- |
## 04\. Finalize and Create
1. Once you've entered all necessary information, Select the **Create** button to add the new user.
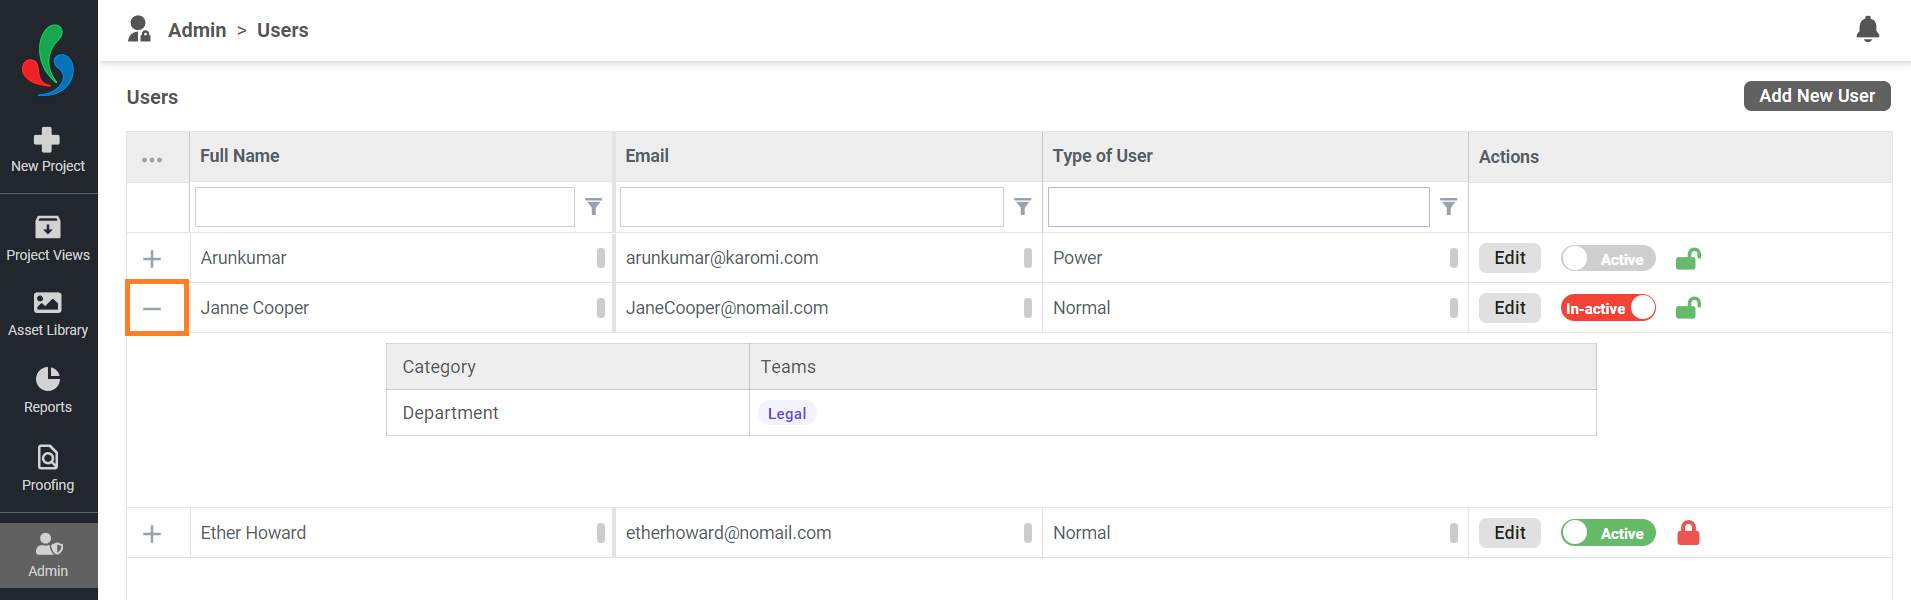
- To view the teams and categories associated with a user, select the **plus** icon to expand the user’s profile.
[Manage User(s)](https://help.manageartworks.com/en/article/manage-users)